
To quickly fix low voltage output, start by inspecting your power source and making sure connections are tight and secure. Test the outlet with a multimeter to confirm proper voltage. Check your circuit breaker or fuse for any signs of tripping or damage. Also, verify your equipment isn’t overloaded or overheating, and reset or power cycle it. If you keep these steps in mind, you’ll find more fast solutions to restore voltage stability smoothly.
Key Takeaways
- Test the power outlet with a multimeter to confirm proper voltage supply.
- Inspect the power cord and plug for visible damage or looseness.
- Check the circuit breaker or fuse for tripped or blown components.
- Verify grounding connections are secure and compliant.
- Ensure external interference isn’t causing voltage fluctuations.
Top picks for "quick voltage output"
Open Amazon search results for this keyword.
As an affiliate, we earn on qualifying purchases.
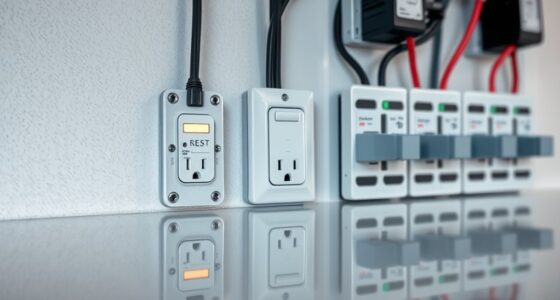
Check the Power Source and Connections
Before assuming a malfunction, you should first verify that the device is properly plugged in and the power source is working. Check the circuit diagrams to guarantee connections are correct and secure. Confirm that the power ratings match the device’s specifications; using an inadequate power supply can cause low voltage output. Use a multimeter to test the voltage at the outlet and at the device’s input port. If the power source isn’t delivering the correct voltage, it could be the reason for the issue. Always ensure the power cord and connections are tight and free from damage. Additionally, understanding industry trends can help identify common power supply issues that affect device performance. By confirming these basic aspects, you eliminate simple problems that could be causing low voltage output, saving you time before moving on to more detailed inspections.
Inspect the Power Cord and Plug for Damage
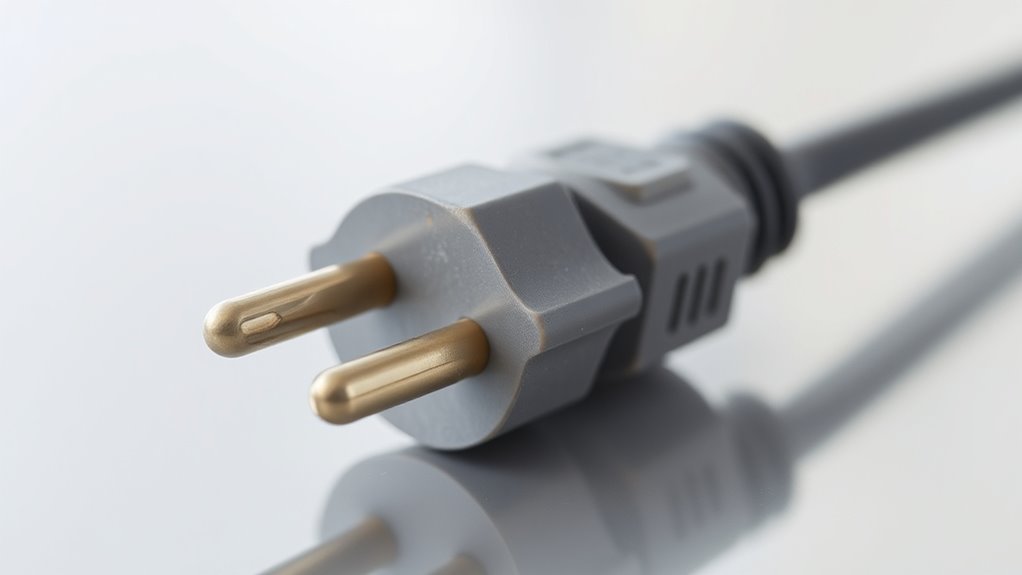
Start by checking your power cord for any frays or exposed wires that could cause issues. Then, inspect the plug for cracks or breaks that might prevent a proper connection. Finally, make sure the plug is firmly inserted and secure in the socket to avoid power disruptions. Additionally, verifying sound wave influences on electrical components can help identify underlying issues affecting power output.
Check for Frays
Inspecting your power cord and plug for damage is a simple but essential step in ensuring your device’s safety. Frayed cables can expose wiring, increasing the risk of shocks or fire. To check effectively:
- Look closely at the cable insulation for any frays, cracks, or exposed wires.
- Examine the plug for signs of wear, bent prongs, or burn marks from power surges.
- Gently tug on the cord near the plug and outlet; if it pulls easily or shows frays, replace it immediately.
- Regular inspections help prevent electrical hazards and ensure your device remains safe to use.
Damaged cable insulation not only increases the risk of electrical shorts but also makes your device vulnerable to power surges. Regular inspection helps prevent potential electrical hazards and keeps your equipment running smoothly.
Inspect for Breaks
Check your power cord and plug thoroughly for any breaks or cracks that may have developed over time. Damage to the cord can lead to inconsistent power delivery, affecting your device’s battery health and causing low voltage output. Inspect the entire length for exposed wires or frayed insulation. A damaged plug or cord can also impact software calibration, making your device register incorrect voltage levels. If you notice any breaks or cracks, replace the cord immediately to prevent further issues. Ensuring a secure, intact connection helps maintain ideal power flow, supporting accurate software calibration and preserving battery health. Regularly inspecting your power cord and plug is a simple step that can prevent low voltage problems caused by faulty wiring or compromised insulation. Additionally, suction power can be affected by power irregularities, impacting overall cleaning performance.
Confirm Secure Connection
Have you confirmed that your power cord and plug are securely connected and free of damage? Loose or damaged connections can cause grounding issues, leading to low voltage output. To troubleshoot effectively:
- Check the plug for bent or broken prongs and replace if needed.
- Inspect the cord for cuts, frays, or exposed wires that could compromise grounding.
- Ensure the connection to the power outlet is tight, and test the outlet for proper grounding.
- Remember that a supportive environment can help foster safe electrical practices and prompt troubleshooting.
Addressing grounding troubleshooting is essential; improper grounding can cause voltage drops. If you notice any damage or suspect grounding issues, replace or repair the cord immediately. Secure connections ensure safe, reliable power flow and help prevent low voltage problems.
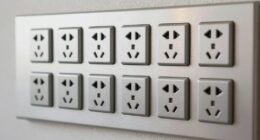
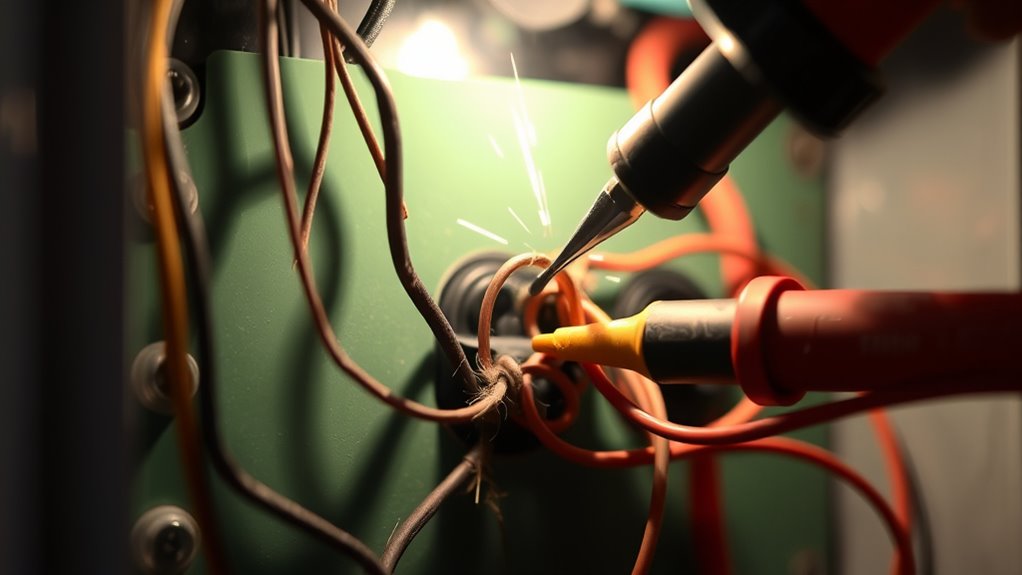
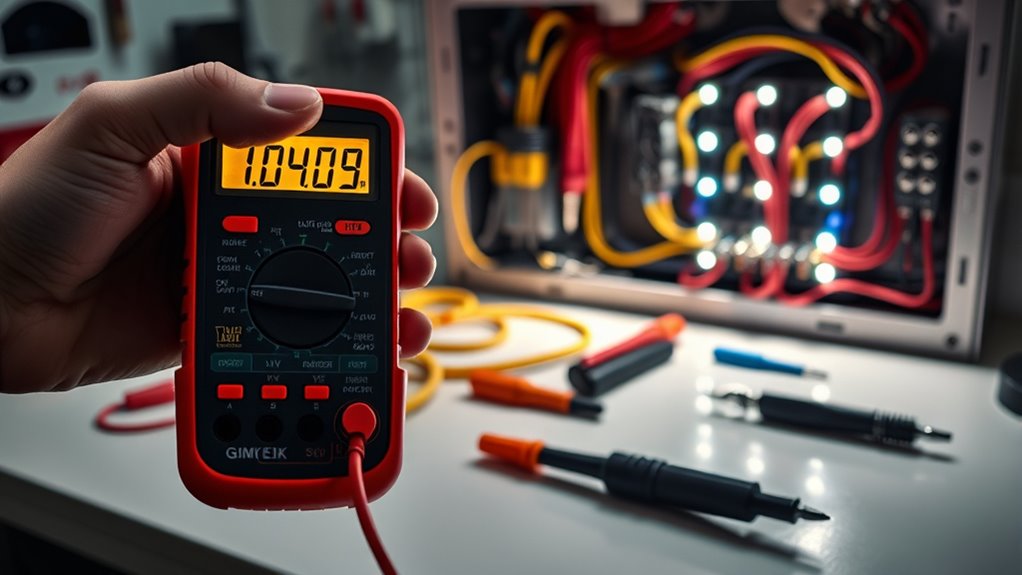
Test the Outlet With a Multimeter
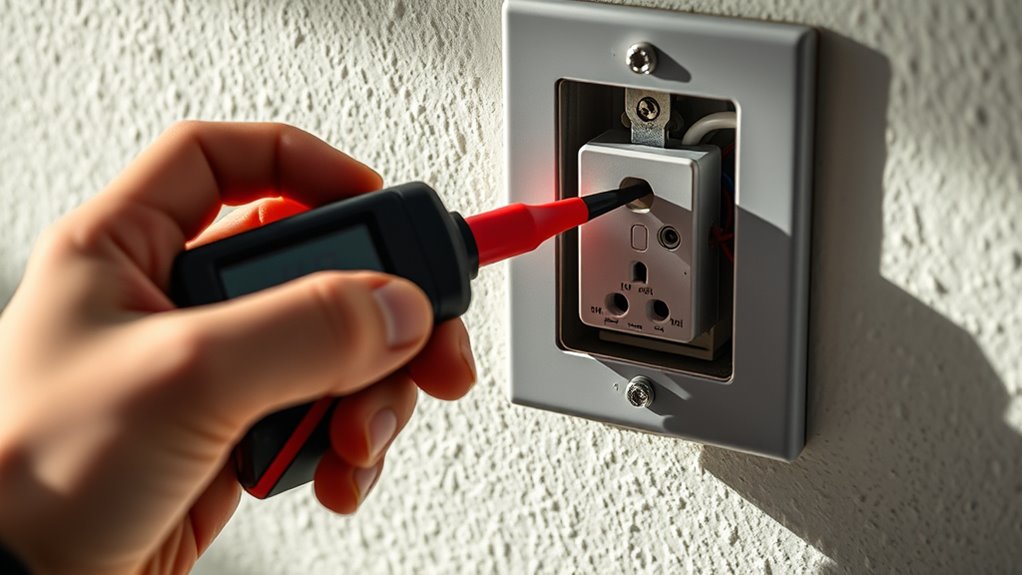
Wondering if your outlet is working properly? Using a multimeter helps you test for voltage issues caused by circuit design or voltage fluctuation. First, set your multimeter to measure AC voltage. Insert the probes into the outlet slots—black to the neutral and red to the hot terminal. You should see a reading around 120 volts (in the US). If the voltage drops considerably below that, it indicates low voltage output. This simple test can reveal if the outlet itself is faulty or if there’s an underlying issue with the circuit. Keep in mind, consistent voltage fluctuation can cause equipment malfunction. Testing with a multimeter provides a clear snapshot of your outlet’s performance, helping you identify if further repairs or inspections are needed. Regularly checking your electrical components can also help prevent damage to sensitive electronics.
Verify the Circuit Breaker or Fuse Status
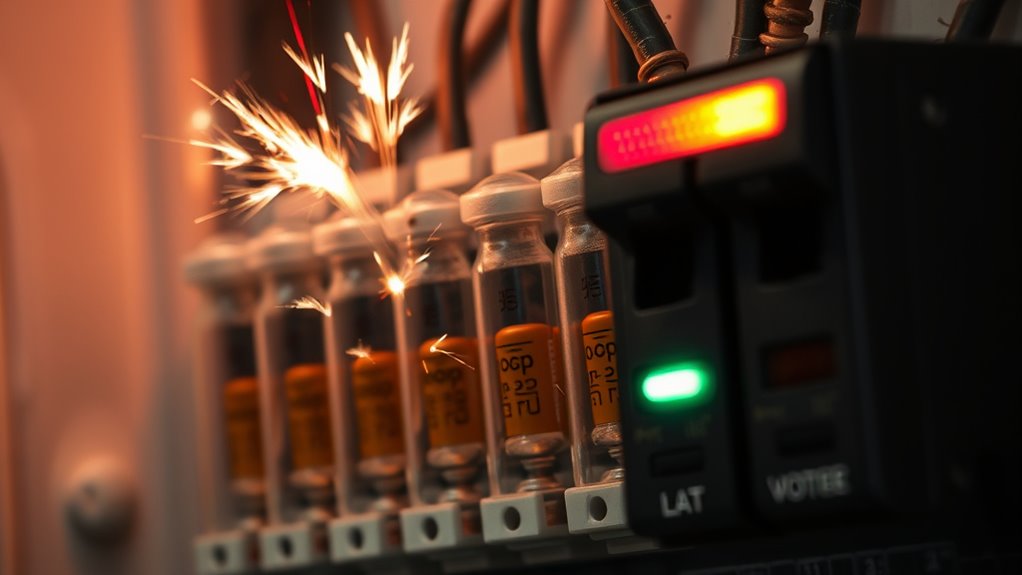
Start by checking if the power supply is active; if there’s no power, the circuit breaker might have tripped or a fuse could be blown. Next, inspect the breaker or fuse carefully to see if it’s open or burned out. Ensuring these are in proper working order is key to resolving the issue quickly. Additionally, consider security vulnerabilities in the system that could affect the overall safety and reliability of your electrical setup.
Check Power Supply
Is the power supply the culprit behind the issue? Voltage fluctuations and power surges can cause low voltage output. To check, follow these steps:
- Inspect the fuse or circuit breaker: Ensure they haven’t tripped or blown, which can cut power unexpectedly.
- Test the outlet voltage: Use a multimeter to verify if the outlet provides consistent voltage. Fluctuations here can affect your device.
- Look for signs of power surge damage: Burn marks or a smell near the fuse or breaker suggest a recent surge, which can weaken your power supply.
- Understand the impact of power surges on electrical components, as they can cause lasting damage if not addressed promptly.
Addressing these issues helps rule out power supply problems as the cause of low voltage output, ensuring your equipment runs smoothly.
Inspect Breaker Properly
To make certain your circuit breaker or fuse isn’t causing issues, you need to verify their status carefully. Start by inspecting the breaker for signs of a ground fault or visible damage. If you notice frequent voltage fluctuation, it could indicate a breaker that’s tripping unexpectedly or failing to reset properly. Turn off the breaker and check if it’s stuck or appears burnt out. Use a multimeter to verify if the breaker is providing consistent voltage output. If you find any irregularities, replace the breaker or fuse promptly. Remember, a faulty breaker can cause low voltage output, leading to equipment malfunctions. Ensuring your breaker functions correctly helps prevent further electrical problems and maintains a stable power supply. Additionally, checking for signs of spoilage in lemon juice can help ensure safety if storing or using citrus products.
Examine the Voltage Regulator Settings

Examining the voltage regulator settings is a crucial step in ensuring your system operates efficiently. Proper voltage calibration and regulator adjustment prevent low voltage output issues. To get started: 1. Check the current voltage output against manufacturer specifications to identify discrepancies. 2. Adjust the regulator settings carefully, ensuring you follow the recommended voltage calibration procedures. 3. Use a multimeter to verify the changes, confirming the regulator delivers a stable, correct voltage. Additionally, understanding the flushing mechanism of your system can help identify potential causes of voltage irregularities.
Assess the Load Conditions on the System
Understanding the load conditions on your system is essential because excessive or uneven loads can lead to voltage fluctuation and equipment stress. When your system experiences load imbalance, some circuits carry more current than others, causing voltage drops in certain areas. This uneven distribution can reduce overall voltage output, affecting performance. To assess conditions, check for signs of overloads or uneven power usage across different circuits. Use a multimeter or system monitor to measure voltage at various points, ensuring consistent levels. If you notice significant fluctuations or imbalances, redistribute loads or upgrade components to balance the system better. Keeping load conditions optimized minimizes voltage drops, improves system stability, and prolongs equipment lifespan. Regular assessment helps prevent low voltage issues before they escalate.
Look for Loose or Corroded Terminals
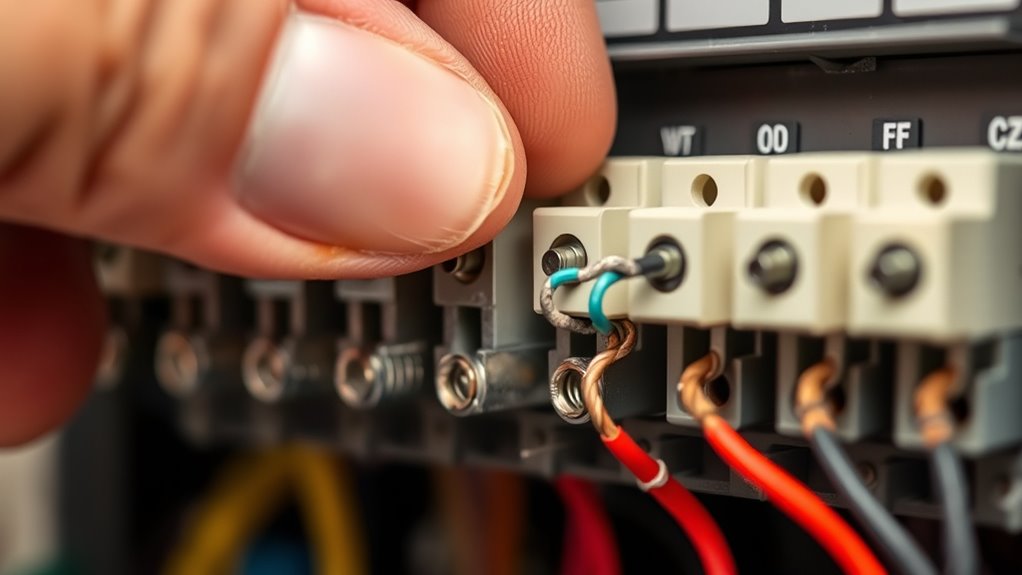
Start by checking all terminals for looseness and tighten any connections that feel unstable. Look closely for signs of corrosion or rust that could disrupt the flow of electricity. Addressing these simple issues can often restore proper function quickly and prevent further damage.
Tighten Connection Points
If you notice electrical issues or intermittent power, it’s often due to loose or corroded terminals. These connection problems can cause voltage fluctuations, especially when environmental influences like humidity or temperature changes affect the connections. To fix this, follow these steps:
- Turn off the power and inspect terminals for looseness or corrosion.
- Use a wrench to tighten any loose connection points securely.
- Clean corroded areas with a wire brush or contact cleaner before tightening.
Tightening connection points ensures a stable electrical flow, reducing voltage fluctuations caused by environmental factors. Regularly checking and securing terminals prevents low voltage output and keeps your system running smoothly. This simple step can save time and avoid more costly repairs later.
Inspect for Corrosion
Corrosion on terminals can cause poor electrical contact, leading to intermittent power issues. Battery corrosion or connector corrosion often appears as white, green, or bluish deposits around terminals or connectors. These deposits hinder proper conductivity, resulting in low voltage output. To prevent this, inspect all terminals and connectors regularly. Look for loose connections or signs of corrosion, especially where wires meet the battery or device. Use a wire brush or terminal cleaner to remove corrosion and ensure tight, clean connections.
| Issue | Solution |
|---|---|
| Battery corrosion | Clean terminals with baking soda solution |
| Connector corrosion | Replace damaged connectors |
| Loose terminals | Tighten all connection points |
Confirm Proper Grounding and Earthing
Before proceeding with any electrical work, you need to verify that the grounding and earthing systems are properly installed and functioning correctly. Start with a thorough grounding verification to guarantee all connections are solid and compliant. Next, perform an earthing assessment to confirm the system effectively dissipates electrical faults. To do this:
- Check for loose or corroded grounding connections.
- Use a multimeter to measure resistance between equipment and earth; values should be within recommended limits.
- Inspect grounding rods and conductors for physical damage or corrosion.
These steps help identify potential issues that could cause low voltage output. Proper grounding verification and earthing assessment are vital to ensuring your electrical system operates reliably and safely.
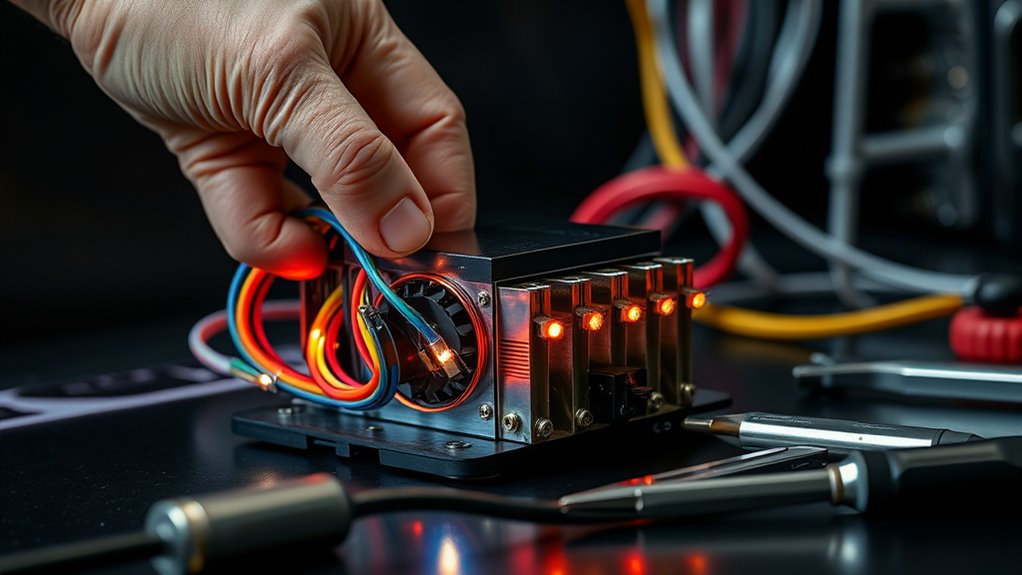
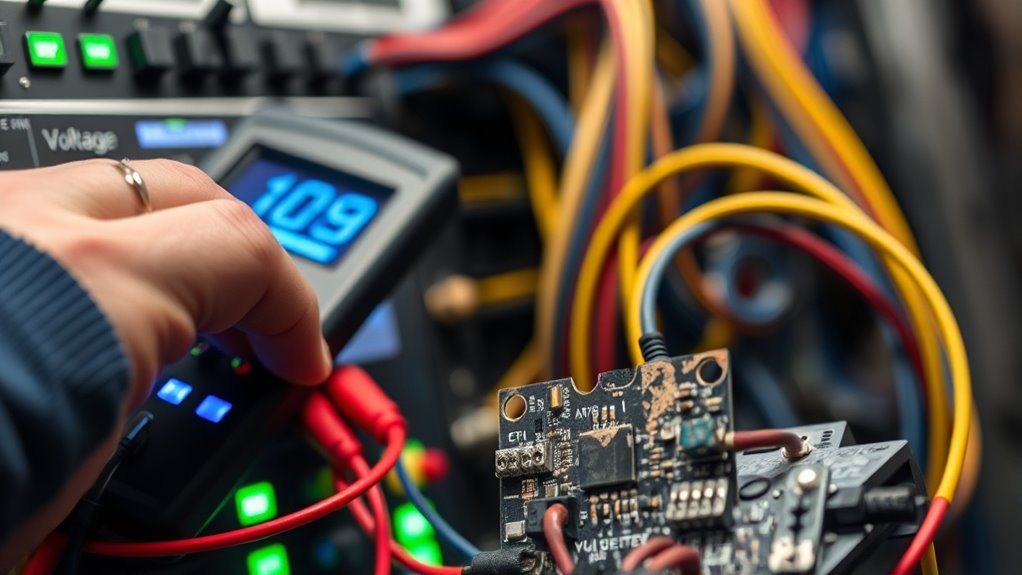
Evaluate the Condition of Internal Components

Start by inspecting the capacitors for signs of bulging or leakage, as these indicate potential failure. Test the voltage regulators to verify they’re providing consistent output within specifications. Finally, examine all connections for looseness or corrosion to prevent unexpected faults.
Inspect Capacitor Health
How can you determine if a capacitor is still functioning properly? Start with capacitor testing to assess its health. Look for signs of damage or wear that indicate poor capacitor health. Here are three key steps:
- Visual Inspection: Check for bulging, leaking, or corroded components, which signal failure.
- Measure Capacitance: Use a multimeter or capacitance tester to compare readings against specifications.
- Check for ESR (Equivalent Series Resistance): Elevated ESR levels can point to internal degradation, even if visual signs aren’t obvious.
Test Voltage Regulators
Testing voltage regulators is essential to guarantee they’re functioning properly and maintaining stable output voltages. If you notice voltage fluctuation or inconsistent power delivery, testing reveals internal component issues. Use a multimeter to check the regulator’s output and compare it to specifications. Look for signs of overheating or damage that could compromise surge protection. Regular testing helps identify failing components before they cause system failure. Here’s a quick reference:
| Test Step | Expected Result |
|---|---|
| Measure output voltage | Should match rated voltage within tolerance |
| Check for overheating | No excessive heat during operation |
| Inspect for physical damage | No visible cracks or burn marks |
| Test input voltage | Stable and within recommended range |
| Verify surge protection | Properly limits voltage spikes |
Perform these steps periodically to ensure your voltage regulators keep your system stable.
Examine Connection Integrity
Checking the connection integrity within your voltage regulator system helps guarantee all internal components are functioning correctly. Loose or corroded connections can cause low voltage output, often worsened by wireless interference or environmental noise. To verify solid connections:
- Inspect all wiring for corrosion, fraying, or loose fittings.
- Tighten any loose connectors, especially those near potential interference sources.
- Shield sensitive internal components from environmental noise, which can disrupt signal stability.
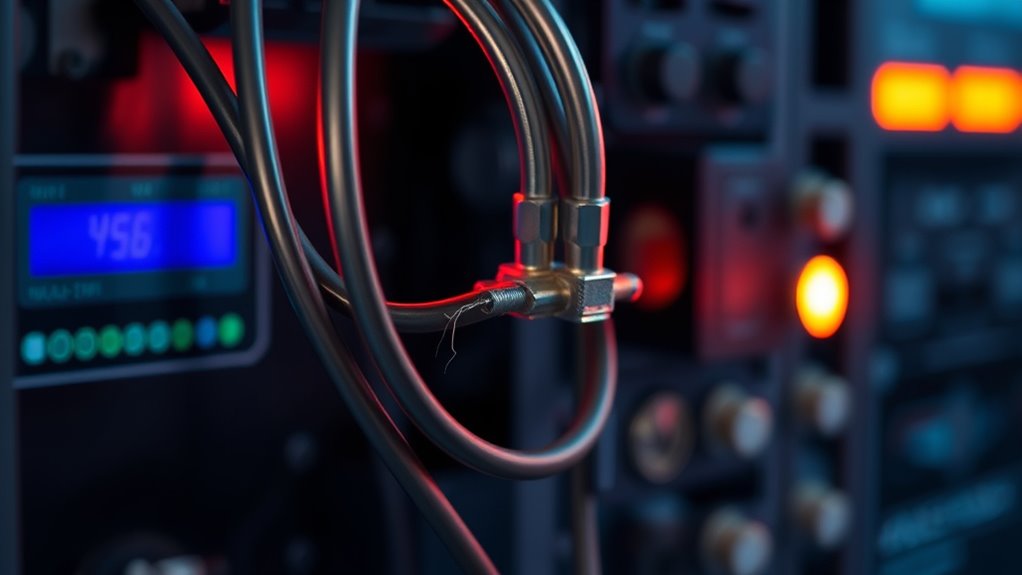
Replace or Reposition Faulty Wiring
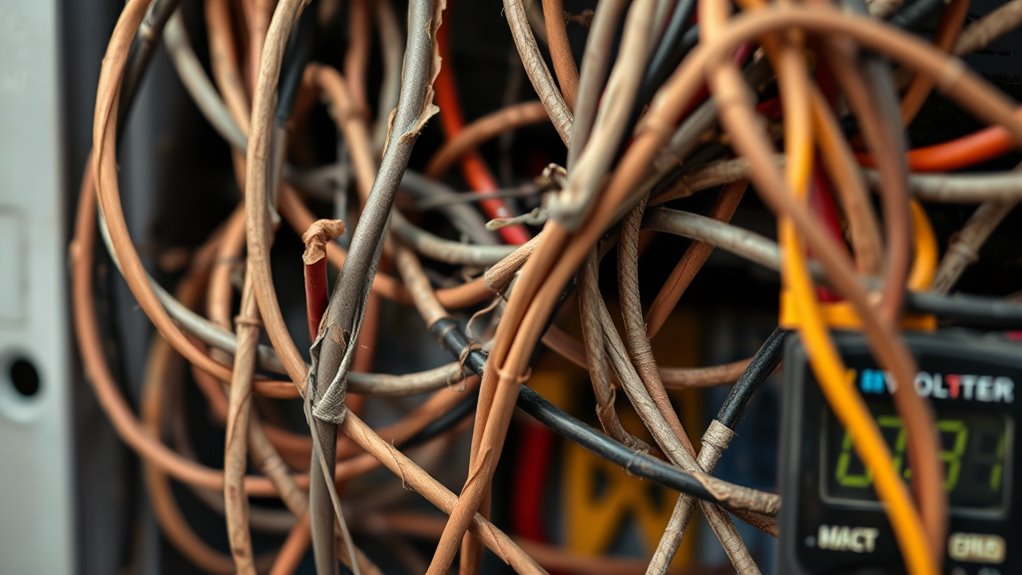
Faulty wiring can pose serious safety risks and cause electrical issues, so it’s essential to address it promptly. If you notice signs of faulty wiring, such as flickering lights or frequent circuit trips, consider wiring replacement or repositioning. Faulty wiring often results from damaged insulation, loose connections, or improper routing, which can reduce voltage output. Replacing damaged sections ensures a safer, more reliable system. Sometimes, repositioning wiring helps improve airflow, prevent interference, or eliminate stress points that cause faults. Always turn off power before working on wiring, and consult a professional if you’re unsure. Properly replacing or repositioning faulty wiring restores voltage stability and minimizes safety hazards, ensuring your electrical system functions efficiently and safely.
Check for Interference or External Factors
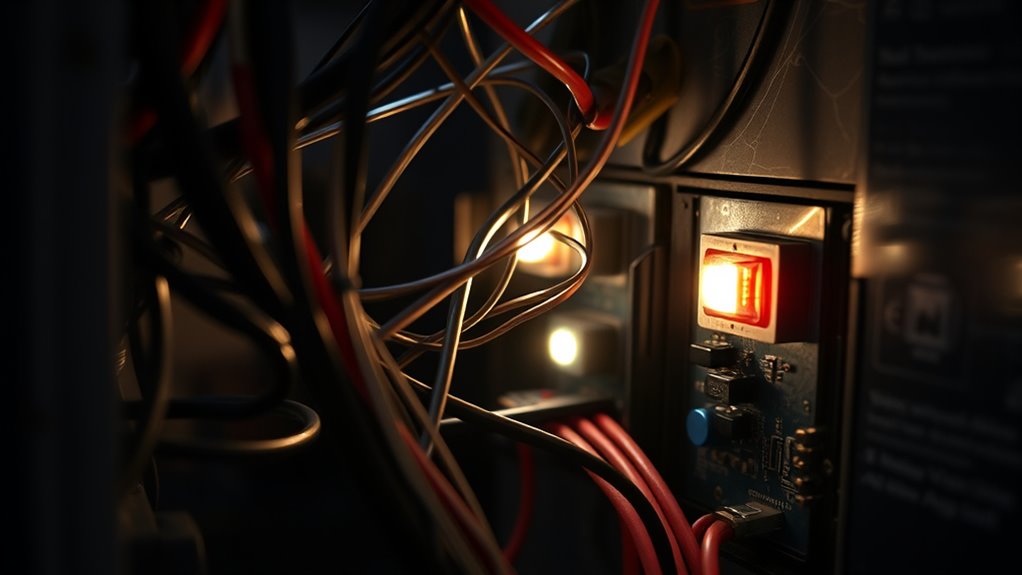
External factors like electromagnetic interference from nearby devices, radio signals, or wireless networks can disrupt your electrical system’s performance. External electrical noise may cause low voltage output by interfering with signals or creating fluctuations. To identify the source, follow these steps:
- Scan your environment for active wireless devices, radio transmitters, or large motors that could generate electromagnetic interference.
- Turn off or disconnect suspected sources one at a time, observing if voltage levels stabilize.
- Use a spectrum analyzer if available, to detect external electrical noise that might be affecting your system.
Ensure Proper Ventilation and Cooling

Electromagnetic interference can cause fluctuations in your system’s voltage, which may lead to overheating or reduced performance. To prevent this, guarantee proper ventilation and cooling. Optimize airflow around your equipment by arranging cables neatly and avoiding clutter that blocks vents. Keep vents and fans clean from dust and debris, as this maintains efficient airflow. Control the ambient temperature in your environment by using air conditioning or fans, especially in warmer conditions. Proper airflow optimization reduces heat buildup, helping components operate within safe temperature ranges. Regularly monitor temperature levels and adjust cooling methods as needed. Maintaining a cool, well-ventilated setup not only prevents overheating but also stabilizes voltage levels, ensuring your system runs reliably and efficiently.
Reset or Power Cycle the Equipment
Sometimes, simply resetting or power cycling your equipment can resolve temporary glitches and restore normal operation. This quick step is especially useful when issues stem from software updates or remote monitoring hiccups. To effectively reset your system, follow these steps:
Resetting your device can quickly fix glitches and restore proper function.
- Turn off the device and disconnect it from the power source to guarantee a complete power down.
- Wait at least 30 seconds to clear any residual charge or temporary faults.
- Power the equipment back on, and check if the low voltage output issue persists.
Performing these actions can refresh system components, help recognize remote monitoring signals correctly, and ensure software updates are properly applied. This simple reset often restores stability without the need for complex troubleshooting.
Test the System With a Known Good Power Source
After resetting your equipment, it’s important to verify that power supply issues aren’t caused by the source itself. Use a known good power source to test for voltage fluctuation and power stability. If your equipment still shows low voltage output, the problem likely isn’t with your device but with the power source. To ensure the source’s reliability, compare it with a standard, stable power supply.
| Power Source | Voltage Stability |
|---|---|
| Known Good | Consistent Voltage |
| Faulty Source | Fluctuates or Drops |
| Standard Supply | Reliable Power |
Testing this way helps isolate the issue, confirming whether the power source contributes to low voltage output.
Consult the Manufacturer’s Troubleshooting Guide
Consulting the manufacturer’s troubleshooting guide is a crucial step when standard tests don’t resolve the issue. It provides manufacturer recommendations and detailed product specifications tailored to your equipment. To get the most out of this resource, follow these steps:
- Identify your model number and version to access the correct guide.
- Review troubleshooting flowcharts that match your low voltage symptoms.
- Check manufacturer recommendations for common causes and solutions specific to your device.
This approach ensures you’re following proven procedures, reducing guesswork. The guide helps you understand if your unit’s low voltage is due to internal faults or external factors, based on manufacturer specifications. Always refer to the official documentation to avoid voiding warranties or creating further issues.
Frequently Asked Questions
What Are Common Signs Indicating Low Voltage Output Issues?
You’ll notice voltage fluctuation causing devices to restart or shut down unexpectedly, which signals low voltage output issues. If you see inconsistent performance, dimming lights, or power supply issues like reduced device efficiency, these are clear signs. You might also experience overheating or unusual noises from power supplies. Addressing these signs promptly helps prevent damage and ensures your equipment runs smoothly. Keep an eye out for these symptoms to catch low voltage issues early.
Can Environmental Factors Affect Voltage Stability?
Environmental influences substantially impact voltage stability, with studies showing that power fluctuations caused by temperature swings or humidity changes account for up to 40% of voltage issues. You might notice voltage drops during extreme weather or when nearby equipment creates electromagnetic interference. These environmental factors can disrupt power delivery, leading to inconsistent voltage output. To maintain stability, monitor environmental conditions, and consider protective measures like surge protectors or climate control.
How Often Should Voltage Output Be Monitored for Consistency?
You should monitor voltage output regularly to catch fluctuations early. For consistent power supply, check your voltage at least weekly, especially if your environment is prone to fluctuations. Keep an eye on voltage fluctuation patterns to identify issues quickly. More frequent checks are recommended during peak usage or if you notice power supply problems. Regular monitoring helps guarantee stable performance and prevents potential damage caused by voltage instability.
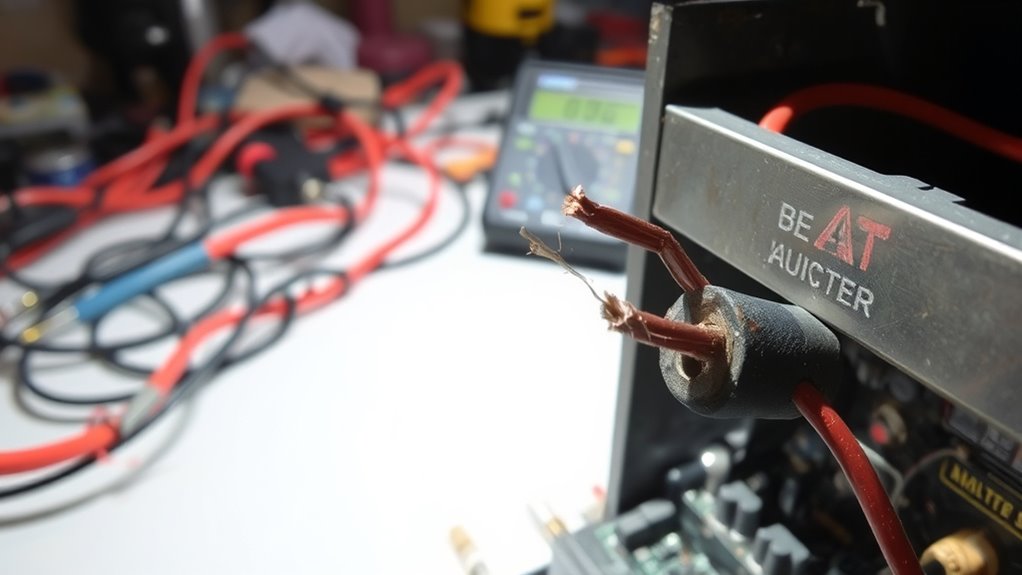
Are There Specific Tools Recommended for Diagnosing Low Voltage Problems?
You should use diagnostic tools like a multimeter or a clamp meter for voltage testing to diagnose low voltage problems effectively. These tools help you measure voltage levels accurately and identify inconsistencies. A digital multimeter is versatile and easy to use for checking connections, while a clamp meter can measure current without disconnecting wires. Regular voltage testing with these diagnostic tools ensures you catch issues early and maintain ideal performance.
What Safety Precautions Are Necessary During Voltage Troubleshooting?
When troubleshooting voltage issues, you should always wear insulated gloves and use insulated tools to prevent shocks. Make certain the equipment is powered off before inspecting for grounding issues or performing wiring inspections. Keep your workspace dry and avoid working alone in case of emergencies. Double-check all connections and grounding points, and verify your testing equipment is properly calibrated. Following these safety precautions helps protect you during voltage troubleshooting.
Conclusion
By following these quick troubleshooting steps, you can often identify and fix low voltage issues fast. Did you know that over 60% of electrical problems are caused by simple connection or power source issues? Addressing these common causes promptly can save you time and money, preventing costly repairs. Keep a checklist handy, and you’ll be well-equipped to resolve low voltage output problems in just 15 minutes or less.