If you’re facing low voltage output, start by checking for common issues like damaged capacitors, faulty transformers, and loose wiring or connections. Use a multimeter to test power supplies and verify proper grounding. Look for signs of component wear, overheating, or damage. Don’t overlook wiring and grounding safety. Addressing these problems early can save your system from failure. Keep exploring to uncover detailed tips that can help you troubleshoot effectively.
Key Takeaways
- Inspect capacitors and transformers for visible damage, overheating, or leaks to identify common low voltage causes.
- Verify wiring, grounding, and connections using a multimeter to detect voltage drops and ensure system stability.
- Use high-quality components and regular maintenance to prevent degradation and maintain consistent voltage output.
- Check for loose, corroded, or damaged connectors and ensure proper airflow to avoid overheating-related issues.
- Employ proper troubleshooting tools and techniques, including safety precautions, to accurately diagnose voltage irregularities.
The Complete Multimeter Handbook: A Practical Guide to Testing, Troubleshooting, and Electrical Measurements
As an affiliate, we earn on qualifying purchases.
As an affiliate, we earn on qualifying purchases.
Common Electrical Causes of Low Voltage Output
Low voltage output often results from specific electrical issues within the system. One common cause is capacitor failure, which can disrupt the flow of electrical current and reduce voltage levels. When capacitors malfunction, they can’t store or release energy effectively, leading to voltage drops. Additionally, transformer issues frequently contribute to low voltage problems. If the transformer is damaged, overheated, or improperly wired, it can fail to step down or step up voltage properly. You might notice signs like buzzing sounds, burning smells, or visible damage on the transformer. Addressing these issues quickly is essential to restoring proper voltage levels. Regular inspection of capacitors and transformers can help catch problems early before they cause more extensive system failures. Moreover, awareness of AI discoveries in healthcare and technology highlights the importance of proactive maintenance and innovative diagnostic tools to prevent electrical failures.

FNIRSI LCR-P1 Transistor Tester, Mosfet Transistor Capacitor Tester, SMD Electronic Component Tester, Diode Triode Zener Diode Resistance Inductance Battery Test LCR Meter MOS PNP NPN ESR Meter
Transistor Capacitor Tester: FNIRSI LCR-P1 transistor tester can be used for the measurement and analysis of patch component,…
As an affiliate, we earn on qualifying purchases.
As an affiliate, we earn on qualifying purchases.
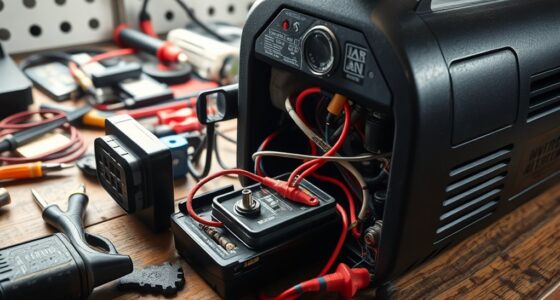
How to Check and Test Power Supplies and Connections
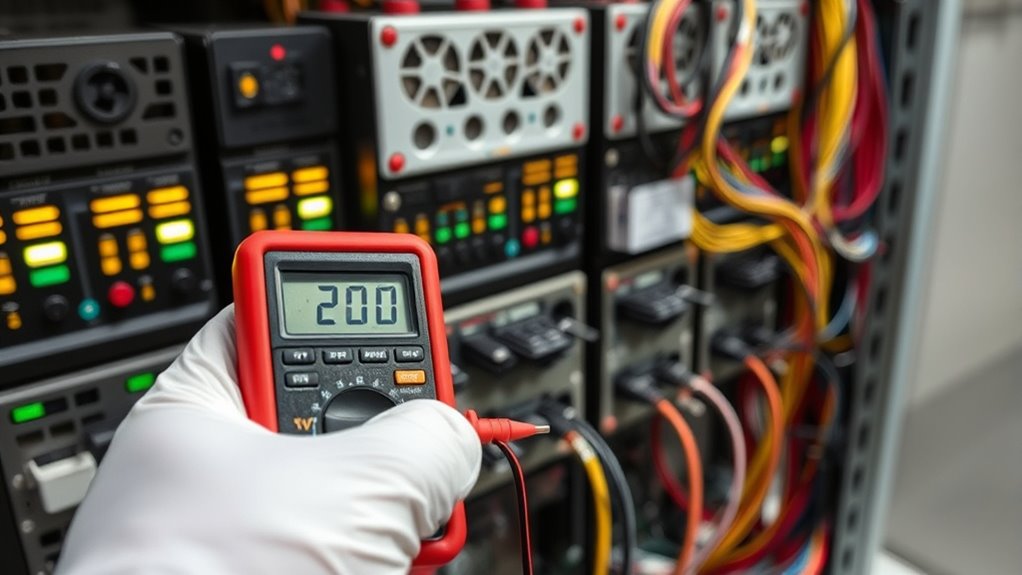
To effectively diagnose issues with power supplies and connections, you should start by visually inspecting all wiring and connectors for signs of damage, corrosion, or loose fittings. Check that connections are secure and free of corrosion, which can cause voltage drops. Use a multimeter to perform power testing, measuring voltage output at different points. Pay special attention to voltage regulators—they should provide steady voltage; fluctuations indicate faults. Verify the power supply is delivering the correct voltage to the system. Look for worn or frayed wires that could cause shorts or voltage drops. Confirm that all connectors are properly seated. Additionally, understanding the importance of proper airflow can prevent overheating that affects electrical components. These steps help isolate issues before testing components further, guaranteeing your power supply and connections are functioning correctly for ideal performance.

Transformer Turns Ratio Tester Multi-Functional Kit TTR Tester Transformer Ratio Group Tester with Li Battery, 3 Phase Single Phase Ratio Meter, PT CT, Polarity Testing
With Li Battery, small size, light weight, convenient for carrying and use;
As an affiliate, we earn on qualifying purchases.
As an affiliate, we earn on qualifying purchases.
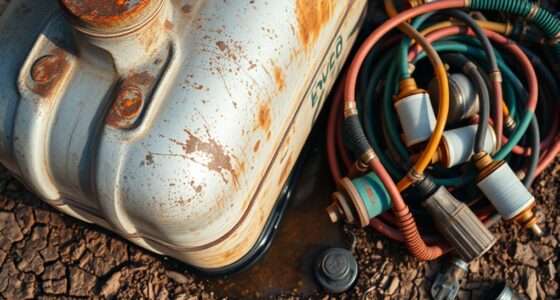
Recognizing Signs of Faulty Components and Wear

Identifying faulty components and signs of wear is essential for maintaining system reliability. Over time, component degradation and thermal stress can cause issues like inconsistent voltage output. Look for physical signs such as discoloration, bulging capacitors, or corrosion. Unusual smells or overheating may also indicate thermal stress damage. Use this table to help spot common warning signs:
| Faulty Component | Signs of Wear |
|---|---|
| Capacitors | Bulging, leaks, discoloration |
| Resistors | Burn marks, cracking |
| Connectors | Loose, corroded, burned |
Pay close attention to these indicators to catch problems early, ensuring your system runs smoothly and avoiding unexpected failures. Additionally, understanding AI’s impact on privacy and regulation can help you stay informed about the importance of data security and ethical considerations in modern technology.

Telescoping Magnetic Pickup Tool Set, 2Pcs Round and Square Inspection Mirror Telescoping with LED Lights, 2Pcs Magnet Stick Best Gadgets Gifts for Men (Black, 6 Pack)
【Powerful Magnet】Magnetic rods can easily locate and retrieve lost items in hard-to-reach areas, and are suitable for use…
As an affiliate, we earn on qualifying purchases.
As an affiliate, we earn on qualifying purchases.
Impact of Wiring and Grounding Issues on Voltage Levels

Wiring and grounding issues can substantially disrupt voltage levels within your system. Poor connections or improper grounding create voltage drops and fluctuations that lead to low output problems. Grounding loops, for example, can cause interference and instability, making voltage readings unreliable. Incorrect wiring color codes might result in miswired components, increasing the risk of voltage drops or shorts. To prevent issues, confirm all connections follow proper wiring color codes and that grounding is solid and free of loops. Additionally, eye patch benefits highlight how proper setup and maintenance can improve overall performance and longevity.
Wiring and grounding issues can cause voltage fluctuations and unstable system performance.
- Check for grounding loops that create unintended current paths
- Verify wiring color codes match specifications
- Inspect connections for loose or corroded contacts
- Ensure grounding rods and panels are properly connected and free of faults
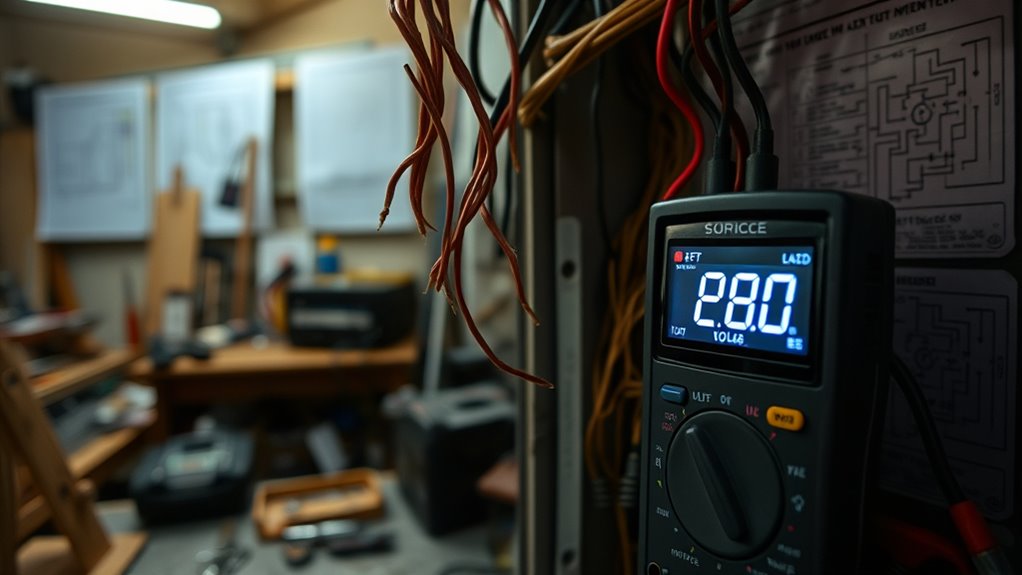
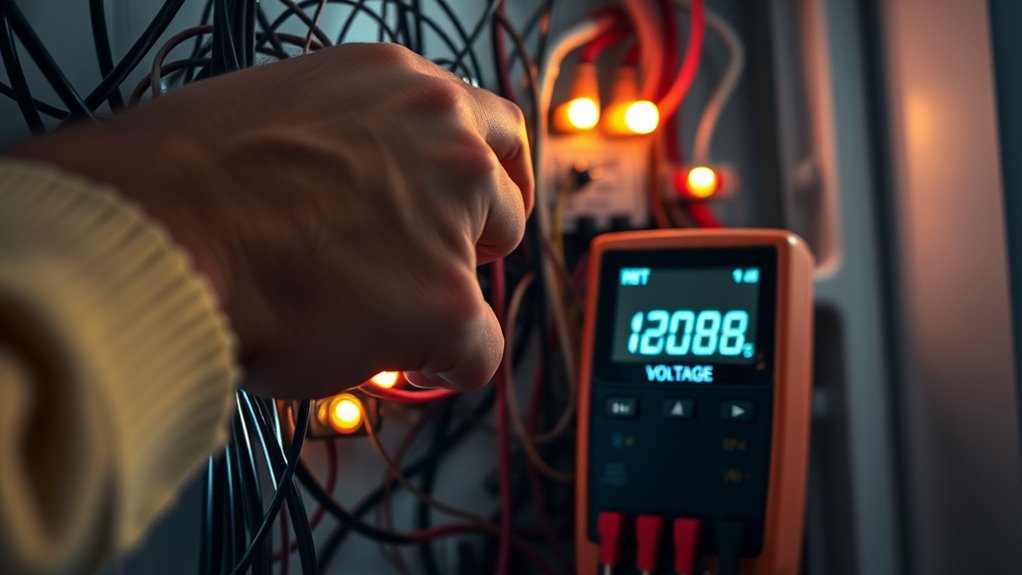
Using Proper Tools and Techniques for Accurate Troubleshooting

Using proper tools and techniques is essential for diagnosing voltage issues accurately. A digital multimeter is your most valuable tool for measuring voltage levels precisely. Make certain you’re familiar with how to set it correctly and interpret readings confidently. Always prioritize safe testing practices—turn off power when possible, wear insulated gloves, and avoid contact with live circuits. Proper technique involves testing at multiple points in the circuit to identify where voltage drops occur. Keep your tools in good condition to prevent inaccurate readings. Remember, rushing or using the wrong tools can lead to misdiagnosis or safety hazards. Additionally, understanding the latest advancements in automation technology can help you better grasp potential sources of electrical anomalies. By applying these methods and using the right equipment, you’ll improve troubleshooting accuracy and reduce the risk of errors or accidents.
Preventative Measures to Maintain Stable Voltage Output
To keep your voltage output stable, you need to take proactive steps. Regular system inspections help identify issues early, while proper grounding and quality components guarantee consistent performance. Implementing these measures now saves you time and prevents future troubleshooting headaches.
Regular System Inspections
Regular system inspections are essential for maintaining stable voltage output and preventing potential issues before they escalate. By regularly checking your system, you can catch voltage fluctuations early and verify insulation resistance remains high enough to avoid leaks. Inspections help identify worn components or loose connections that could cause inconsistent voltage levels. Staying proactive reduces the risk of unexpected failures and keeps your system running smoothly. During inspections, focus on:
- Monitoring voltage fluctuations during peak loads
- Testing insulation resistance across critical points
- Inspecting wiring for signs of wear or corrosion
- Ensuring all connections are tight and secure
- Reviewing battery health to prevent voltage drops and ensure reliable power supply
Routine checks allow you to address small problems before they turn into costly repairs, ensuring stable voltage and reliable operation over time.
Proper Equipment Grounding
Proper equipment grounding plays a crucial role in maintaining a stable voltage output by providing a safe path for fault currents and minimizing electrical noise. Using effective grounding techniques ensures that any stray currents are safely directed to the ground, reducing the risk of voltage fluctuations. Always verify that your grounding system is intact and compliant with electrical codes. Regular equipment calibration is essential to guarantee that grounding connections remain solid and effective over time. Poor grounding can cause voltage dips and erratic performance, so it’s vital to inspect grounding points periodically. Properly grounded systems help prevent electrical interference, protect equipment, and maintain consistent voltage levels. Implementing these grounding practices is a simple yet vital step in troubleshooting low voltage issues proactively. Quotes highlight the profound impact fathers have on children’s lives.
Use of Quality Components
Using high-quality components is essential for maintaining a stable voltage output, as inferior parts can introduce resistance, noise, and fluctuations into the system. Over time, component aging can cause these issues to worsen, leading to voltage drops and inconsistent performance. Investing in quality components ensures better durability and reliability, reducing the need for frequent repairs. Regularly inspecting and replacing worn parts prevents performance degradation and maintains system stability. Keep in mind that using subpar components may seem cost-effective initially but can result in costly troubleshooting down the line. To maximize system stability, focus on sourcing high-grade parts designed for your specific application. Proper component selection and timely replacements are key preventative measures that help keep your voltage output steady over time. Additionally, understanding the importance of projector contrast ratio can help you select components that support optimal image quality and system performance.
Frequently Asked Questions
How Often Should I Inspect My Electrical System for Voltage Issues?
You should inspect your electrical system at least once every six months to catch voltage issues early. An inspection schedule that includes checking for voltage fluctuations, loose connections, and equipment wear helps maintain peak performance. For systems with heavy usage or in harsh environments, increase your maintenance frequency to quarterly. Regular inspections ensure you identify problems before they cause costly damage, keeping your electrical system safe and reliable.
Can Environmental Factors Affect Low Voltage Output?
Yes, environmental factors can definitely influence your voltage output. Power fluctuations often happen due to sudden changes in temperature or humidity, which can cause moisture intrusion and corrode connections. High moisture levels can lead to insulation issues, resulting in voltage drops. Keep an eye on these conditions and guarantee proper sealing and ventilation to prevent environmental impacts from causing low voltage problems in your electrical system.
What Are the Safety Precautions During Troubleshooting?
During troubleshooting, prioritize electrical safety by turning off power before inspecting components. Always wear protective gear like insulated gloves and safety glasses to prevent shocks or injuries. Use insulated tools to avoid accidental shorts, and verify that the equipment is de-energized with a tester. Keep your workspace dry, and follow proper procedures to guarantee your safety throughout the process. Staying cautious helps prevent accidents and ensures effective troubleshooting.
How Do Temperature Changes Influence Voltage Stability?
Imagine your equipment as a delicate dance partner; temperature fluctuations can throw off its rhythm, impacting voltage regulation. As temperatures rise or fall, components expand or contract, causing voltage stability to wobble. These shifts can lead to inconsistent voltage output, making your system less reliable. To keep the dance smooth, you must monitor environmental conditions and guarantee proper thermal management, maintaining steady voltage regulation despite changing temperatures.
Are There Specific Brands or Models More Prone to Low Voltage Problems?
Certain brands or models are more susceptible to low voltage problems, especially those with lower brand reliability or cheaper components. You should watch out for budget-friendly options, as they often lack stability features and can experience voltage drops. Trusted brands with high reliability tend to have better quality control and fewer issues. Always research specific models’ susceptibility before purchasing, and consider professional advice for selecting the most stable, reliable equipment.
Conclusion
Understanding the root causes of low voltage output isn’t just helpful — it’s essential. Many believe that replacing components alone fixes issues, but in reality, wiring and grounding often play a bigger role. Regular checks with proper tools can prevent costly downtime. Trust the experts: maintaining connections and verifying wiring integrity guarantees consistent voltage. Investing time in thorough troubleshooting saves you from future frustration and equipment failure, proving that proactive care truly makes a difference.