
To master troubleshooting starting issues in a weekend, start by evaluating symptoms and gathering details about recent problems. Check your battery, terminals, and electrical connections for corrosion or looseness, then test the voltage with a multimeter. Next, inspect the fuel system and spark plugs, and test the starter motor and relay. Don’t forget to appraise sensors and indicators of computer issues. By following these steps and using basic tools, you’ll quickly identify and fix common causes—learn more about fine-tuning your approach as you go.
Key Takeaways
- Follow a systematic diagnostic process: assess symptoms, scan for DTCs, and gather detailed information early.
- Check battery and electrical connections for corrosion, proper voltage, and secure clamps to ensure reliable power.
- Inspect fuel and ignition systems, including filters, spark plugs, and wiring, for faults or blockages.
- Test starter motor, relays, and sensors, using multimeters and jumpers to identify mechanical or electrical faults.
- Know when to perform repairs or seek professional help, recognizing warning signals and complex system issues.

ANCEL BA101 Car Battery Tester, 12V Digital Automotive Alternator Meter Diagnostic Tool,100-2000 CCA Load Capacity, Charging & Cranking Analyzer for Truck, Boat, RV, Marine Vehicle, and More
Catch Battery Problems Early: Featured in two videos by Project Farm, a popular YouTube channel with millions of…
As an affiliate, we earn on qualifying purchases.
As an affiliate, we earn on qualifying purchases.
Assessing the Initial Symptoms and Gathering Information
When your vehicle won’t start, the first step is to assess the initial symptoms and gather as much information as possible. Check the vehicle exterior for obvious issues like leaking fluids, corrosion on the battery terminals, or damaged cables. Inside, consider any recent interior comfort problems, such as malfunctioning dashboard lights or unusual noises when turning the key. Note whether the engine makes a clicking sound, tries to start but stalls, or remains silent. Pay attention to whether the dashboard lights flicker or stay dim. Gathering this information helps pinpoint potential causes, such as electrical issues or mechanical failures. Being thorough now saves you time later, making it easier to identify what’s preventing your vehicle from starting and guiding your next troubleshooting steps. Additionally, understanding how air quality can impact your vehicle’s electrical components might reveal overlooked causes of starting problems.

Set of 6 Ignition Coil Pack and Spark Plugs Iridium Compatible with 2002 2003 2004 2005 Chevy Trailblazer GMC Envoy Ascender Bravada Buick Rainier 9-7X 4.2L L6 Spark Plug Coils Replaces# UF303 41103
Vehicle Fitment-1: Ignition Coil Packs and Spark Plugs Compatible with Chevrolet Trailblazer 2002 2003 2004 2005 L6 4.2L,…
As an affiliate, we earn on qualifying purchases.
As an affiliate, we earn on qualifying purchases.
Checking the Battery and Electrical Connections
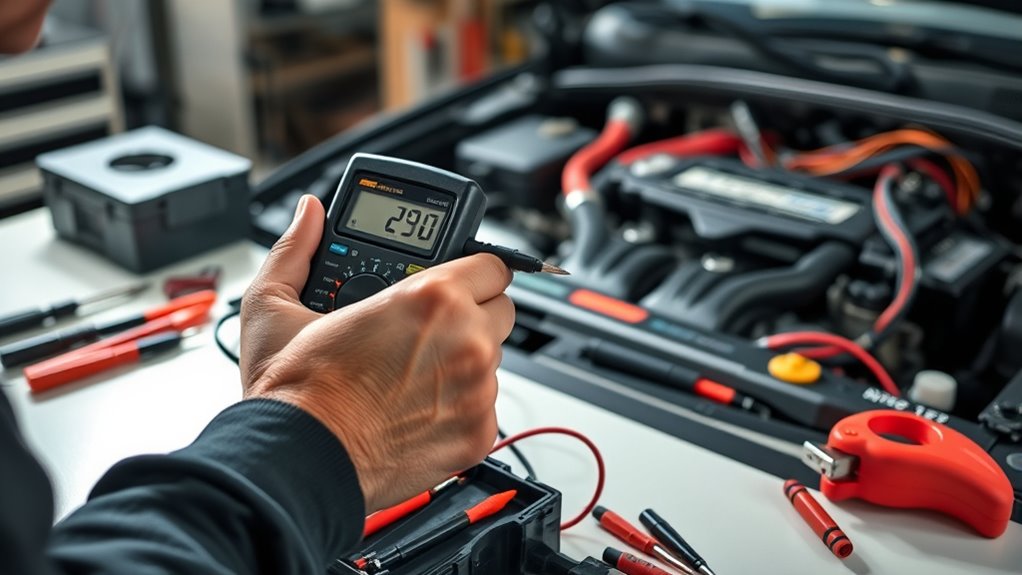
Start by inspecting your battery terminals for corrosion or loose connections, as these can prevent proper power flow. Then, test the battery voltage with a multimeter to verify it’s holding a charge above 12.6 volts. Address any issues you find to rule out electrical problems as the cause of starting issues. Additionally, ensure your electrical connections are free from corrosion and are tightly secured for optimal performance.
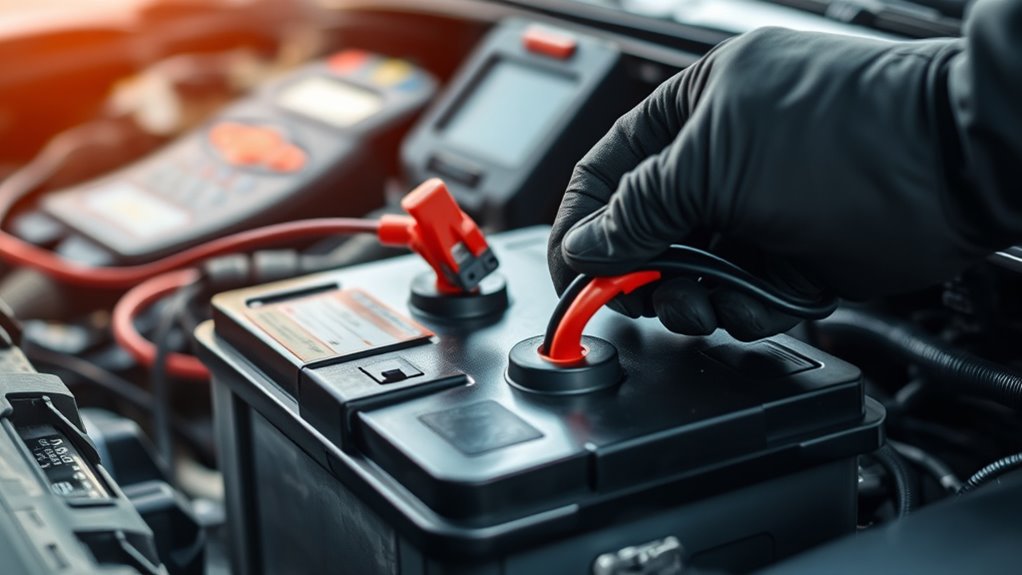
Inspect Battery Terminals
Inspecting the battery terminals is a essential step in troubleshooting starting issues. You want to make certain they’re free of corrosion, which can cause poor electrical contact. Start by visually inspecting both terminals for any white, green, or blueish buildup—signs of corrosion. To prevent further corrosion, consider applying terminal protection or corrosion prevention sprays after cleaning. Use a wire brush or terminal cleaner to thoroughly scrub away any corrosion, making sure the connection points are shiny and clean. Tighten the terminal clamps securely to guarantee a solid electrical connection. Good terminal contact is indispensable for proper starting. Remember, clean and tight terminals reduce the risk of starting problems and extend your battery’s life. Regular terminal cleaning helps maintain reliable vehicle performance. Additionally, checking the battery’s overall health can help identify underlying issues that might cause starting troubles.
Test Battery Voltage
After ensuring your battery terminals are clean and tightly connected, the next step is to verify the battery’s voltage. This is vital for evaluating battery health and pinpointing potential issues. Use a multimeter or voltmeter to perform voltage testing.
- Set your meter to DC volts and connect the probes to the battery terminals
- A healthy, fully charged battery should read around 12.6 volts or higher
- Readings below 12.4 volts indicate a discharged or weak battery
- Consistently low voltage during testing suggests the need for a battery replacement or further diagnosis
- Additionally, understanding the electrical connections and their integrity can prevent misreads and ensure accurate testing results.
Regular voltage testing helps you catch battery problems early, preventing starting issues and ensuring your electrical system functions reliably.

Ezamintaly Starter & Relay for Kawasaki FR651V FR691V FS481V FS600V FS651V FS691V, 21163-0711 21163-0714 21163-0727 21163-0749 21163-7024 21163-7034 FR691V-AS04
Replacement Part No.: 21163-0711, 21163-0714, 21163-0727, 21163-0749, 21163-7024, 21163-7034, 21163-7035, FR691V-AS04, FR691VAS04, 5954, 5954N, 410-21086, 106-239, 106-239A, 106-239B,…
As an affiliate, we earn on qualifying purchases.
As an affiliate, we earn on qualifying purchases.
Inspecting the Fuel System and Fuel Quality
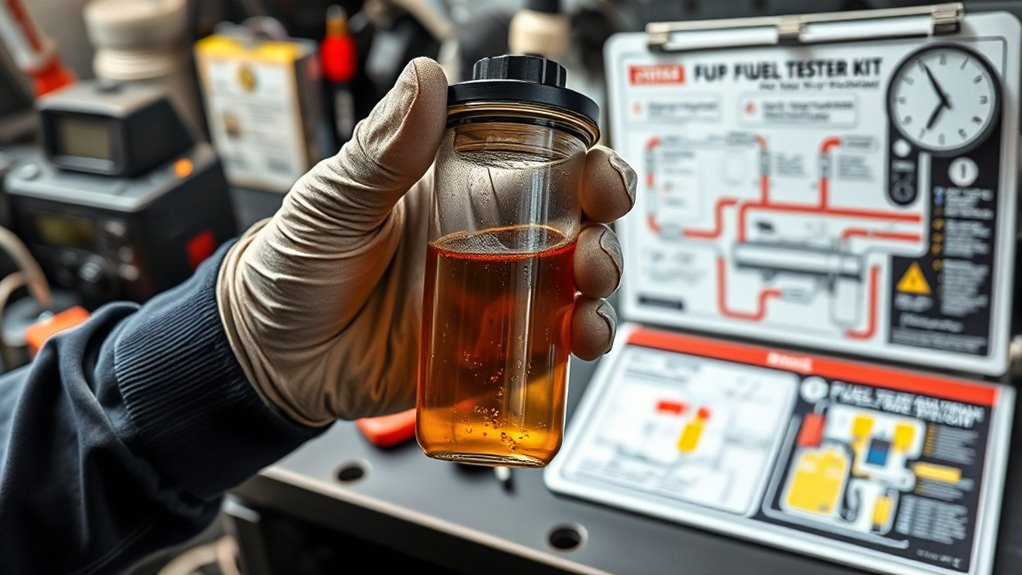
When troubleshooting starting issues, examining the fuel system and fuel quality is essential, as contaminants or blockages can prevent the engine from firing properly. Start by inspecting the fuel filter for clogs or dirt, which can restrict fuel flow. Check the fuel lines for cracks or leaks, ensuring fuel is reaching the engine smoothly. Don’t forget to verify the fuel quality; old, contaminated, or incorrect fuel can cause starting problems. If you suspect poor fuel quality, drain the tank and refill with fresh, high-quality fuel. Also, ensure your fuel pump is functioning correctly, providing consistent pressure. Regular fuel system maintenance can help prevent these issues from occurring. By carefully inspecting these components, you can identify whether the fuel system or fuel quality is the culprit behind your starting troubles.
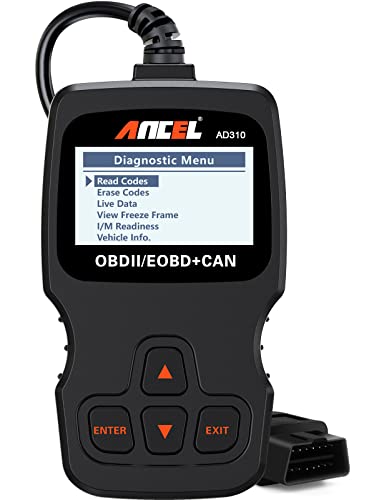
ANCEL AD310 Classic Enhanced Universal OBD II Scanner Car Engine Fault Code Reader CAN Diagnostic Scan Tool, Read and Clear Error Codes for 1996 or Newer OBD2 Protocol Vehicle (Black)
CEL Doctor: The ANCEL AD310 is one of the best-selling OBD II scanners on the market and is…
As an affiliate, we earn on qualifying purchases.
As an affiliate, we earn on qualifying purchases.
Examining the Ignition System and Spark Plugs
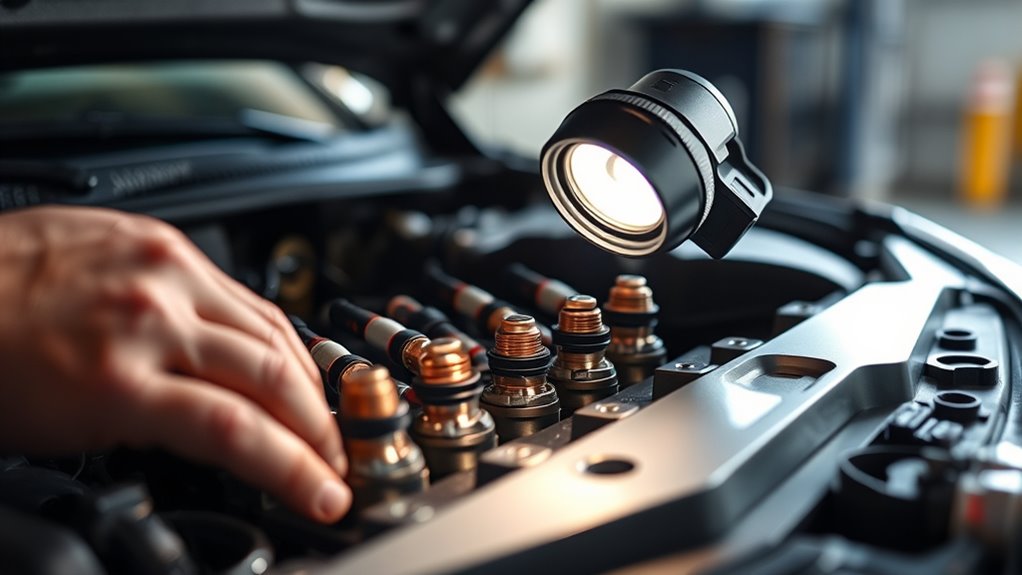
A faulty ignition system or worn spark plugs are common causes of starting problems. First, check the spark plugs for wear or carbon buildup—dirty or damaged plugs can prevent proper ignition. Ensure the spark plug gap matches the manufacturer’s specifications; an incorrect gap can cause misfires. Verify the ignition timing is correct; if it’s off, the engine won’t fire properly. Additionally, inspect the ignition wires for cracks or corrosion, which can interrupt spark delivery. Here are key steps to follow:
- Remove and inspect spark plugs for wear and deposits
- Check and adjust spark plug gap as needed
- Confirm ignition timing is accurate
- Examine ignition wires for damage
Addressing these issues helps restore reliable starting.
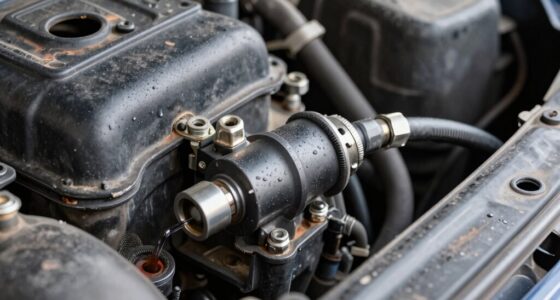
Testing the Starter Motor and Relay

To determine if the starter motor and relay are causing starting issues, you should first listen for a clicking sound when turning the ignition key. If you hear a click but the engine doesn’t turn over, the problem might be with the starter relay or motor. To confirm, follow testing procedures: locate the starter relay, usually in the fuse box, and test it with a multimeter for continuity. You can also perform a direct power test on the starter motor by bypassing the relay with jumper cables. If the starter spins when directly connected, the relay or wiring may be faulty. If it doesn’t, the starter motor itself may need replacement. These steps help isolate whether the relay or starter motor causes your starting trouble. Additionally, understanding Mazda Tuning options can provide insights into potential upgrades or repairs that might improve overall starting performance and reliability.
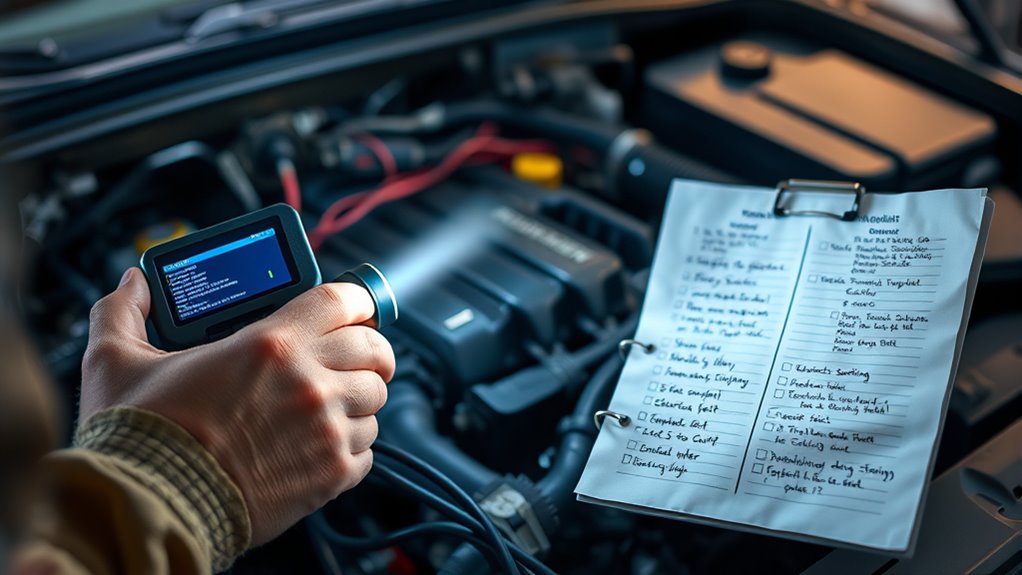
Diagnosing Sensor and Computer System Issues
If your check engine light is on, it’s a good idea to scan for trouble codes to identify potential sensor or computer issues. You should then test the sensors involved to verify they’re working correctly, as faulty sensors can prevent your engine from starting. Addressing these problems promptly can save you time and help get your vehicle running smoothly again. Additionally, understanding how sensor functions impact engine performance can aid in diagnosing underlying problems more effectively.
Check Engine Light
When the check engine light comes on, it signals that your vehicle’s sensor or computer system has detected an issue that needs attention. This dashboard indicator often relates to emission controls or other engine functions. Ignoring it can lead to more serious problems or reduced fuel efficiency. To troubleshoot, check for obvious issues like loose gas caps or damaged wires. Keep an eye on other dashboard indicators that might hint at related problems. Remember, the light can also indicate sensor malfunctions affecting emission controls. Addressing the warning promptly helps prevent costly repairs. If the light blinks, it’s more urgent—implying a misfire or severe problem. Always stay alert to these signals, as they’re your first clue to maintaining a healthy, reliable engine. Additionally, understanding the electronic control systems involved can help pinpoint the root cause more effectively.
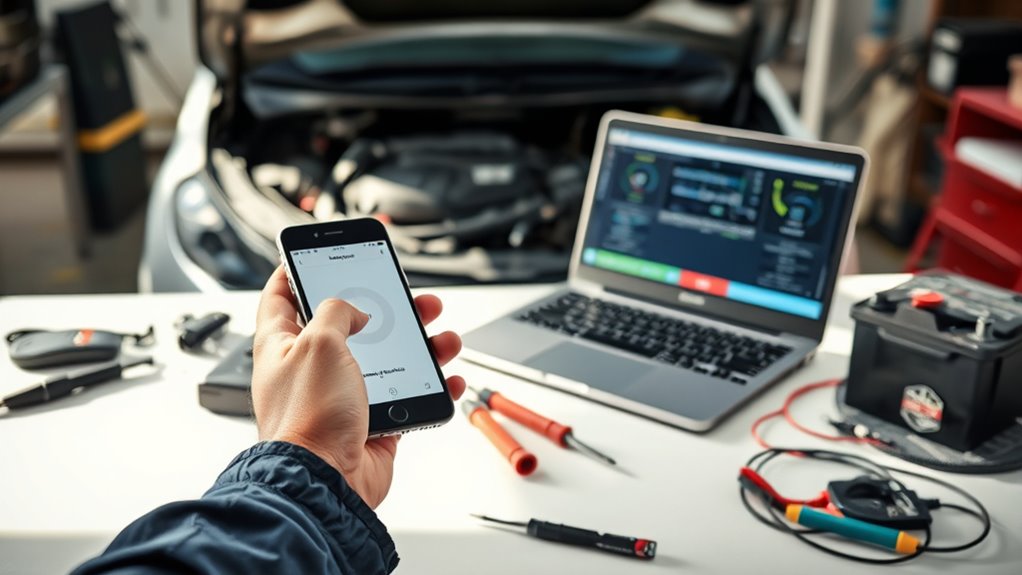
Scan for Codes
Scanning for diagnostic trouble codes (DTCs) is a key step in pinpointing sensor and computer system issues that may cause starting problems or trigger warning lights. Using a diagnostic scanner, you can access OBDII codes stored in your vehicle’s onboard computer. These codes provide specific insights into what’s malfunctioning, whether it’s a faulty sensor, wiring problem, or ECU glitch. To start, connect the scanner to the OBDII port, usually located under the dashboard. Turn on the ignition, and let the scanner retrieve any stored codes. Record these codes and look them up in the scanner’s database or your vehicle’s manual. This process helps you identify potential problems quickly, guiding your next steps for effective repairs. Additionally, understanding Vetted – Grobal World concepts can help you interpret the diagnostic results more accurately.
Test Sensors Properly
Testing sensors properly is essential to accurately diagnose starting issues caused by faulty sensors or computer system glitches. First, check sensor calibration to ensure readings are accurate. Use a multimeter or scan tool to verify sensor outputs against specifications. If a sensor’s signals are inconsistent or out of range, consider sensor replacement. Remember, faulty sensors can mislead your diagnosis, so thorough testing is key. To streamline the process, follow these steps:
- Use a diagnostic scanner to read live sensor data
- Cross-reference sensor readings with manufacturer specs
- Perform a visual inspection for damaged or corroded sensors
- Replace sensors if calibration is off or signals are faulty
- Be aware that automation technologies are increasingly integrated into vehicle systems, making sensor diagnostics even more critical
Proper sensor testing helps pinpoint the root cause, saving time and preventing unnecessary replacements.
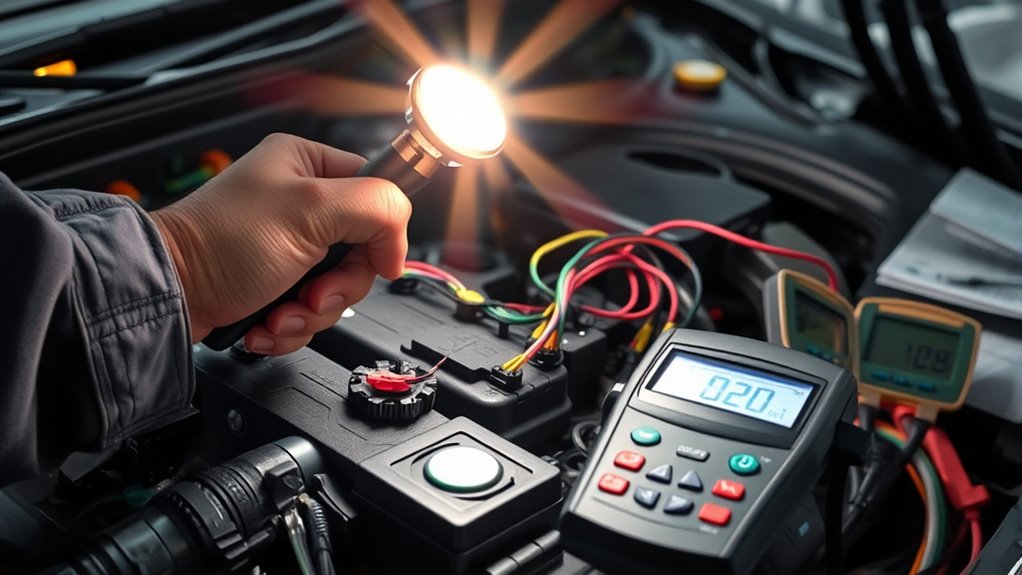
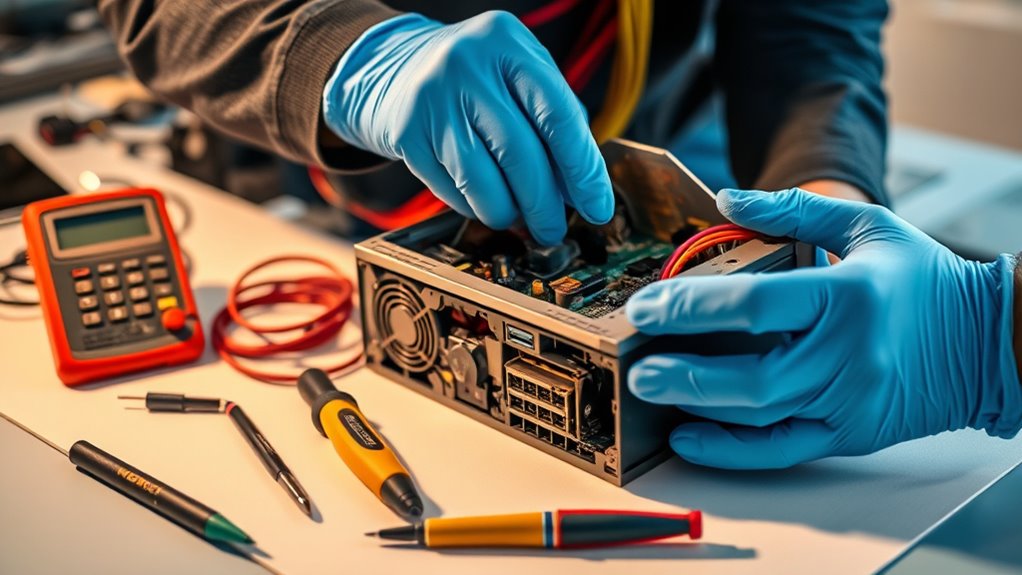
Using Basic Tools and Multimeters for Troubleshooting
Using basic tools like screwdrivers and multimeters is essential for diagnosing starting problems efficiently. With these diagnostic tools, you can identify electrical issues quickly. A multimeter allows you to perform multimeter techniques such as measuring voltage, resistance, and continuity, helping pinpoint faulty connections or components. Here’s a quick reference:
| Tool | Purpose |
|---|---|
| Screwdriver | Remove panels and access components |
| Multimeter | Check voltage, resistance, and continuity |
Mastering multimeter techniques helps you verify if the battery supplies proper voltage, or if there’s a faulty ignition switch. These fundamental tools give you immediate insights, saving time and preventing unnecessary replacements. Proper use of diagnostic tools enhances your troubleshooting accuracy and confidence, making troubleshooting a manageable task.
Performing Simplified Repairs and Replacements
Once you’ve identified the faulty component or connection, performing simplified repairs and replacements becomes straightforward. You can often resolve starting issues quickly with some basic tools and simple repairs. Start by gathering the appropriate replacement parts, such as new fuses, batteries, or ignition switches. Then, follow these steps:
Identifying faulty parts makes simple repairs quick and easy with basic tools.
- Disconnect the battery to prevent electrical shock.
- Remove the faulty part carefully using basic hand tools.
- Install the new replacement part securely.
- Reconnect the battery and test the system.
Knowing When to Seek Professional Assistance

While many starting issues can be resolved with basic repairs, there are times when professional help is essential. If simple fixes don’t work or you notice persistent problems, it’s time to seek professional diagnostics. Skilled technicians can identify underlying issues that aren’t obvious, saving you time and further damage. Consider professional assistance if you’re uncomfortable performing complex repairs or if troubleshooting doesn’t yield results. For problems involving electrical systems, fuel delivery, or engine components, advanced repairs are best left to experts. Trying to fix these yourself can cause more harm than good. Knowing when to call in professionals ensures your vehicle gets properly diagnosed and repaired, preventing costly mistakes and ensuring reliable starting performance.
Frequently Asked Questions
How Can I Identify if My Alternator Is Failing?
You can tell if your alternator is failing by checking your battery health—if your headlights dim or the battery warning light comes on, it’s a sign. Also, perform a wiring inspection; look for loose or corroded connections. Use a multimeter to test voltage; a failing alternator typically produces less than 13.5 volts when the engine runs. Address these signs promptly to prevent further starting issues.
What Are Common Signs of a Bad Ignition Switch?
Imagine your car’s ignition switch as the heart of your vehicle’s soul. When it’s failing, ignition switch symptoms emerge like faint heartbeat irregularities—difficulty turning the key, frequent stalling, or no response at all. Electrical system clues, such as dim lights or dashboard flickers, also hint at trouble. Recognizing these signs early helps you prevent a breakdown, keeping your journey smooth and worry-free.
How Do I Differentiate Between Fuel and Spark Issues?
You can differentiate between fuel and spark issues by first listening for a clicking sound when you turn the key. If the engine turns over but doesn’t start, check your spark plugs for wear or damage, as bad plugs can prevent ignition. If there’s no sound or the engine sputters, inspect the fuel system, including the fuel pump and filter. These steps help pinpoint whether fuel or spark is the culprit.
Can Environmental Factors Cause Starting Problems?
Yes, environmental factors can cause starting problems. You might find that battery corrosion from exposure to moisture or salt, especially in humid or salty climates, hampers your vehicle’s ability to start. Cold weather can thicken oil and reduce battery efficiency, making it harder to turn over. So, always check for corrosion and consider climate effects when troubleshooting starting issues, as these environmental factors often play a significant role.
What Safety Precautions Should I Take During Troubleshooting?
When troubleshooting starting issues, you should always wear safety gear like gloves and eye protection to prevent injuries. Keep an emergency kit nearby in case of accidents or emergencies. Make sure your vehicle is turned off and the parking brake is engaged before working on it. Work in a well-ventilated area, and avoid loose clothing or jewelry that could get caught in moving parts. Prioritize safety to prevent accidents during troubleshooting.
Conclusion
By evaluating the symptoms, checking the essentials, inspecting the systems, and testing the components, you gain confidence and clarity. By knowing when to repair, replace, or seek help, you become more capable and prepared. Mastering troubleshooting starts with patience, progresses with knowledge, and ends with success. With each step, you become more skilled, more confident, and more in control—ready to conquer any starting issue that comes your way.