
To flush and replace coolant on your liquid-cooled generator, first turn it off and let it cool completely. Drain the old coolant, then run a radiator flush solution or distilled water through the system for 10-15 minutes. Drain again, rinse thoroughly, and refill with the correct coolant mixture. Regular maintenance prevents overheating and corrosion. If you want a detailed step-by-step guide, you’ll find useful tips to keep your generator running smoothly.
Key Takeaways
- Turn off the generator, allow it to cool, then drain the existing coolant through the drain valve or radiator hose.
- Use a radiator flush solution or distilled water with a cleaning agent; run the generator for 10-15 minutes to clean the system.
- Thoroughly drain the cleaning solution, rinse with clean distilled water, and repeat if necessary before refilling.
- Mix new coolant with water according to manufacturer specifications, then refill the system to the proper level, checking for leaks.
- Regularly inspect coolant levels and system condition, and perform flushing every 1-2 years to maintain optimal cooling performance.
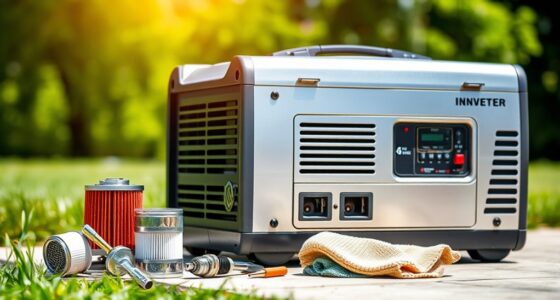
Maintaining your liquid-cooled generator’s peak performance requires regular coolant flushing and replacement. Over time, coolant can become contaminated with dirt, debris, rust, and scale, which impairs its ability to transfer heat effectively. Coolant contamination is a common issue that leads to decreased cooling efficiency, increased engine temperatures, and potential damage to components. To prevent these problems, you need to stay ahead with proper flushing procedures. Regularly flushing the cooling system removes accumulated contaminants and ensures the coolant remains clean and effective.
Regular coolant flushing prevents contamination and maintains your generator’s optimal cooling performance.
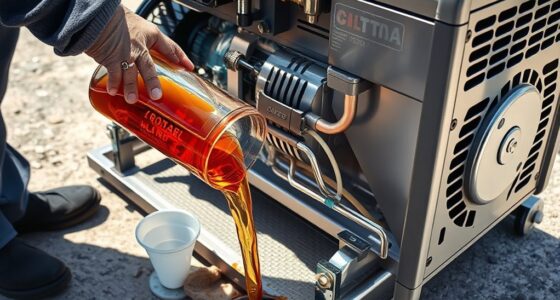
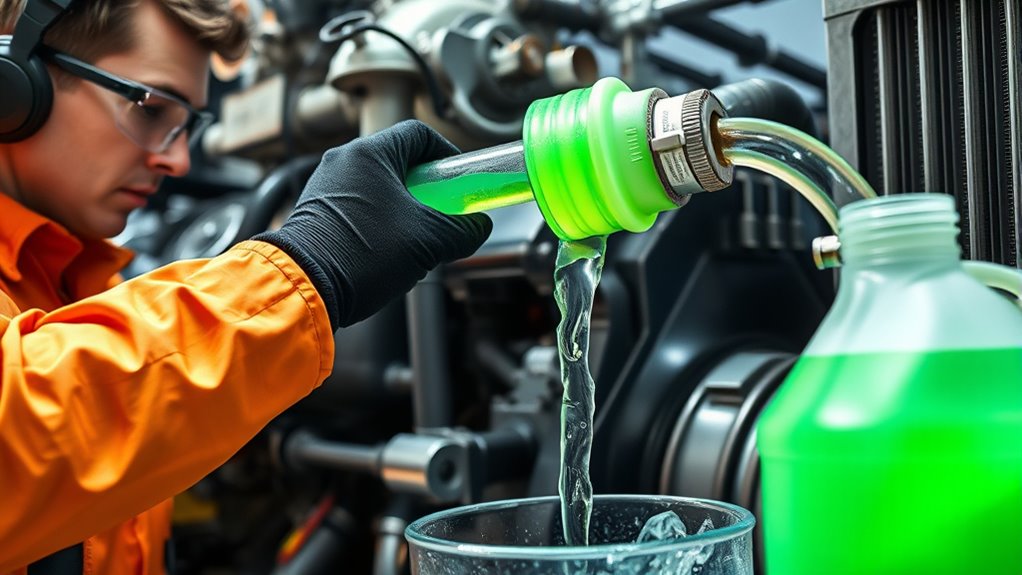
The flushing process involves draining the old coolant, cleaning the system, and refilling it with fresh coolant. Begin by turning off your generator and allowing it to cool completely to avoid burns or injuries. Next, drain the existing coolant by opening the drain valve or removing the lower radiator hose, depending on your system’s configuration. Once drained, it’s essential to flush out any residual debris or sludge. You can do this by filling the system with a dedicated radiator flush solution or a mixture of distilled water and a cleaning agent designed for cooling systems. Run the generator for a specified period, typically about 10-15 minutes, to circulate the cleaning solution through all parts of the cooling loop. Then, shut down the generator and drain the cleaning solution thoroughly.
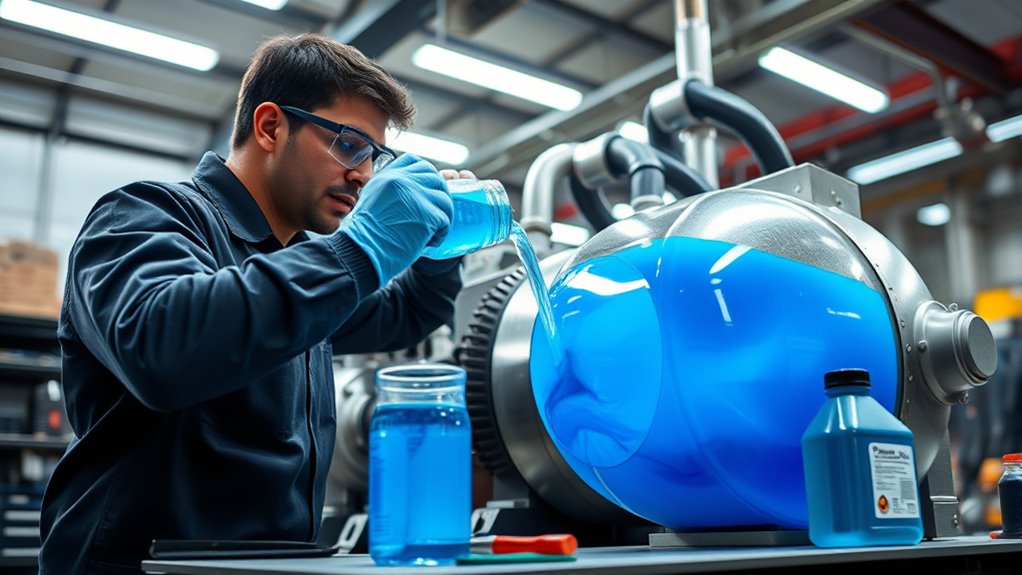
After flushing, rinse the system with clean distilled water to remove any remaining residue of the cleaning agent. Repeat the flushing process if necessary to ensure all contaminants are cleared. Once the system is clean, close the drain valve and refill it with the manufacturer-recommended coolant mixture. Proper mixing of coolant and water is critical, as it affects the cooling efficiency and corrosion protection. Be sure to check for leaks and confirm that the system is filled to the correct level. Additionally, understanding the importance of the contrast ratio can help identify the effectiveness of your cooling system in various lighting conditions, ensuring optimal performance.
Performing these flushing procedures regularly—typically every 1 to 2 years or as specified by the manufacturer—helps maintain ideal cooling performance. Neglecting proper coolant maintenance can lead to coolant contamination that accelerates corrosion, causes overheating, and shortens the lifespan of your generator. By staying vigilant with your flushing routines, you ensure that your liquid-cooled generator runs smoothly and efficiently, avoiding costly repairs and downtime. Remember, a clean and properly maintained cooling system is key to preserving your generator’s reliability and extending its service life.
Top picks for "flush replac coolant"
Open Amazon search results for this keyword.
As an affiliate, we earn on qualifying purchases.
Frequently Asked Questions
How Often Should Coolant Be Checked for Contamination?
You should check your coolant for contamination every 250 to 500 hours of operation or at least quarterly, whichever comes first. Regular coolant testing helps identify signs of contamination early, preventing more serious issues. By monitoring coolant quality consistently, you can guarantee contamination prevention, maintain ideal generator performance, and extend the coolant’s lifespan. Don’t wait until problems arise; proactive testing keeps your generator running smoothly and reliably.
Can I Mix Different Coolant Types During Replacement?
Did you know mixing different coolants can cause engine damage? You shouldn’t mix coolant types during replacement because of coolant compatibility issues. Mixing risks include gelling, corrosion, or reduced cooling efficiency. Always check the manufacturer’s recommendations, and use the same coolant type to guarantee peak performance. If you’re unsure, it’s better to flush the system thoroughly before adding a compatible coolant to avoid costly repairs.
What Are Signs of Coolant System Leaks?
You’ll notice signs of coolant system leaks through visible puddles or drips beneath your generator, lingering steam, or a drop in coolant levels. Leak detection often involves using a coolant dye, which glows under UV light, helping you pinpoint leak sources quickly. If you see these signs or suspect a leak, inspect hoses, fittings, and the radiator, and use dye tests to confirm and locate the leak precisely.
Is It Necessary to Drain the Entire System Before Flushing?
You should drain the coolant system before flushing because it’s like changing horses midstream—mixing old coolant with cleaner can cause issues. Draining ensures all old coolant is eliminated, allowing flushing procedures to work effectively. Typically, you’ll need to open the drain valves and remove any residual fluid, then proceed with flushing to clear out deposits and contaminants. Skipping this step could lead to incomplete cleaning and potential system damage.
How Do I Dispose of Old Coolant Safely?
You should dispose of old coolant safely by taking it to a certified coolant recycling facility or hazardous waste collection center. Never pour it down the drain or onto the ground, as it’s considered hazardous waste. Proper disposal prevents environmental contamination and health risks. Always follow local regulations for hazardous waste management, and use approved containers to transport the coolant for recycling or disposal.
Conclusion
Regularly flushing and replacing your generator’s coolant keeps it running smoothly, preventing costly breakdowns. Did you know that neglected coolant can lead to overheating, reducing your generator’s lifespan by up to 50%? Staying on top of maintenance not only saves you money but also ensures reliable power when you need it most. So, make coolant care a priority—your generator will thank you with long, efficient service.