If you’re looking to troubleshoot oil change shortcuts, start by avoiding common mistakes like skipping essential steps or rushing the process. Always check your oil quality, look for leaks, and guarantee proper tool use. Pay attention to unusual engine noises or performance issues afterward, and follow recommended intervals and proper disposal practices. Staying informed about these tips helps prevent damage and keeps your engine running smoothly. Keep exploring this guide to learn more about safe and effective oil changes.
Key Takeaways
- Avoid common mistakes like skipping steps, rushing, or improper disposal to protect your engine and the environment.
- Recognize signs of poor oil quality or leaks, and troubleshoot by inspecting seals, filters, and oil levels regularly.
- Check oil levels and condition on a level surface, monitoring color, transparency, and viscosity to prevent engine issues.
- Listen for unusual engine noises after an oil change, as they indicate potential problems needing prompt attention.
- Use proper tools, high-quality oils, and filters, and follow preventative maintenance routines to ensure long-term engine health.

BOSCH 3323 Premium Oil Filter With FILTECH Filtration Technology – Compatible With Select Acura MDX, RDX, RSX, TL; Chrysler; Dodge; Ford; Honda Accord, Civic, CR-V, Pilot; Infiniti; Nissan + More
Exclusive FILTECH media technology screens out and holds on to up to 14 grams of dirt and particles,…
As an affiliate, we earn on qualifying purchases.
As an affiliate, we earn on qualifying purchases.
Common Shortcut Mistakes That Can Damage Your Engine
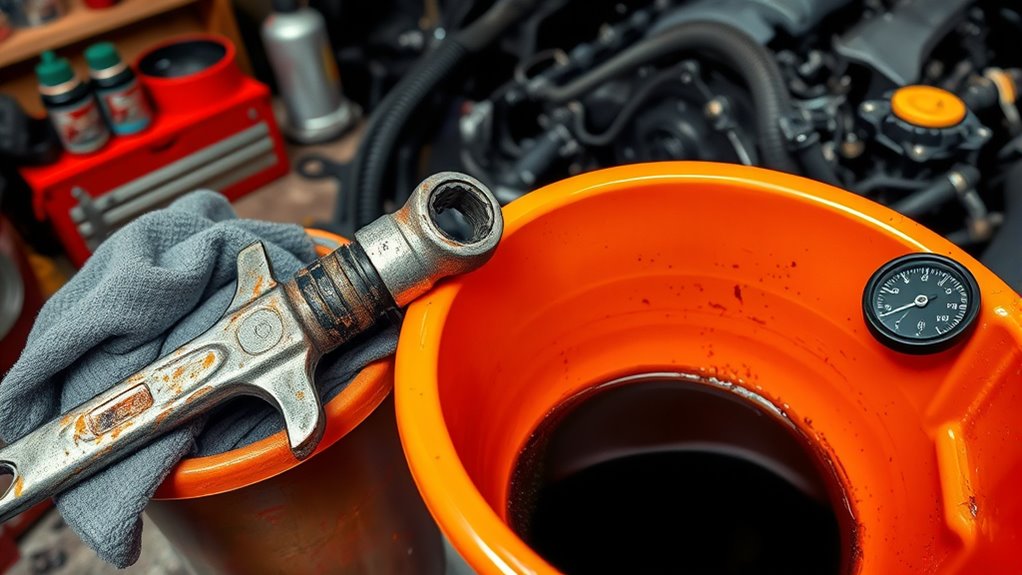
Skipping essential steps during an oil change might seem like a quick fix, but it can seriously harm your engine. One common mistake is neglecting proper oil disposal; pouring used oil down the drain or onto the ground harms the environment and is illegal. Instead, always take your used oil to a recycling center that accepts motor oil. Failing to do so not only damages ecosystems but also risks contamination of local water sources. Additionally, rushing through the oil recycling process can lead to leftover debris or old oil residues in your engine, reducing its efficiency. Properly disposing of oil and recycling it guarantees you’re protecting the environment and maintaining your engine’s health. Environmental impact and proper disposal practices are crucial for responsible vehicle maintenance. Skipping these steps might save time but can lead to costly repairs down the line.

Orion Motor Tech Oil Filter Wrench Set, 9 Piece Oil Filter Removal Tool Kit with Adjustable Oil Filter Wrenches 2-3/4" to 5-1/4", 9" & 12" Pliers, 1/2" to 3/8" Adapter, Universal 3-Jaw Removal Tool
Complete Oil Filter Solution: Orion Motor Tech’s 9pc oil filter wrench set includes 4 swivel-handle steel band wrenches…
As an affiliate, we earn on qualifying purchases.
As an affiliate, we earn on qualifying purchases.
Recognizing the Signs of Poor Oil Quality
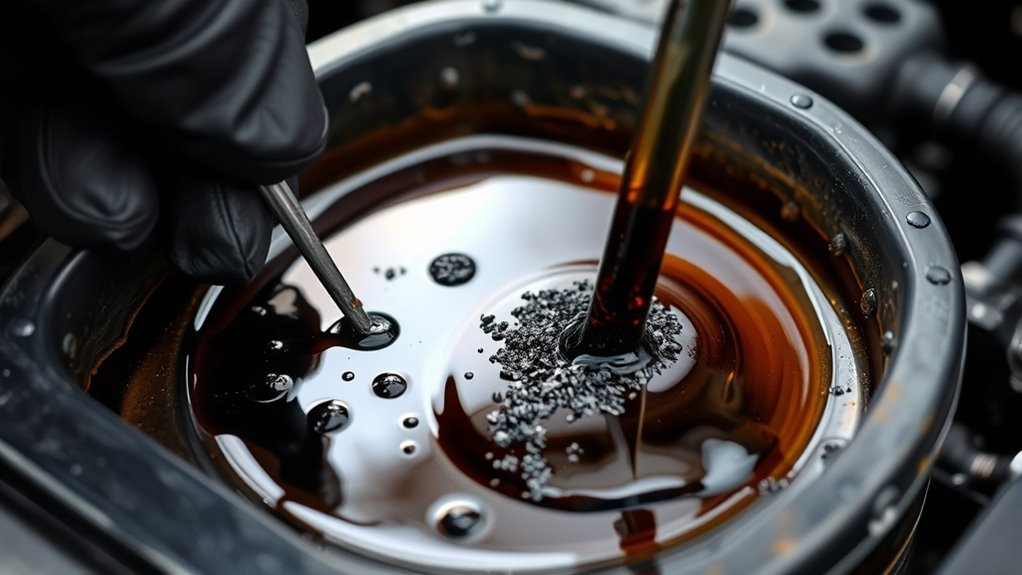
Understanding the signs of poor oil quality is essential to maintaining your engine’s health. When oil degrades, it loses its ability to lubricate effectively, leading to increased wear and potential damage. Look out for dark, gritty oil on the dipstick; this indicates contamination or sludge buildup. If the oil smells burnt or has a strange odor, it’s a sign of breakdown. Additionally, if your engine makes unusual noises, such as knocking or ticking, poor oil quality might be the cause. Sludge or deposits visible around the oil cap or inside the engine bay also suggest oil degradation. Recognizing these signs early allows you to address issues promptly, preventing costly repairs and ensuring your engine runs smoothly. Regular inspections help detect poor oil quality before serious damage occurs, especially since air quality can impact overall engine performance and longevity.
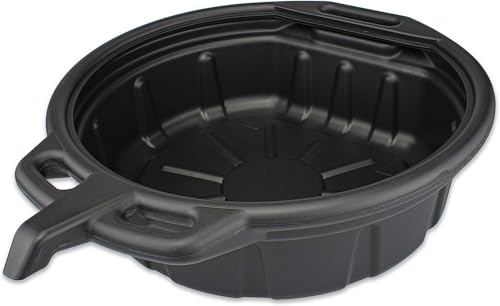
NEIKO 20762A Oil Drain Pan | Black Plastic Anti Splash | Motor Oil Drip Catcher Pan | 2 Gallon (8L) Capacity
[QUALITY]: Oil drip tray is constructed of high quality, recyclable polythene plastic that is resistant to corrosion so…
As an affiliate, we earn on qualifying purchases.
As an affiliate, we earn on qualifying purchases.
How to Properly Check Oil Levels and Condition
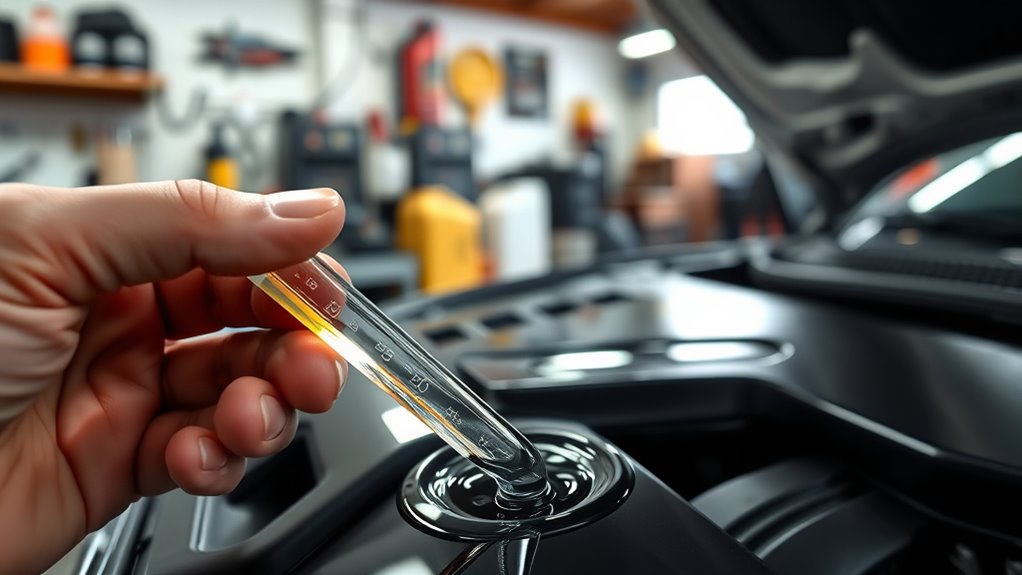
Checking your oil levels and condition regularly helps guarantee your engine stays in good shape. To do this, park your vehicle on a level surface and turn off the engine for a few minutes. Pull out the dipstick, wipe it clean, then reinsert it fully before pulling it out again. Check the oil level; it should be between the minimum and maximum marks. Assess the oil’s condition by observing its color and transparency—dark, gritty oil indicates it’s time for a change. Also, consider the oil’s viscosity; if it feels thick or gritty, it may have broken down. Additionally, examine the oil for signs of oil additives breaking down or becoming sludgy. Proper checking ensures you catch potential issues early, maintaining ideal engine performance. Regularly reviewing the oil’s quality and condition can help prevent engine damage and extend your vehicle’s lifespan.
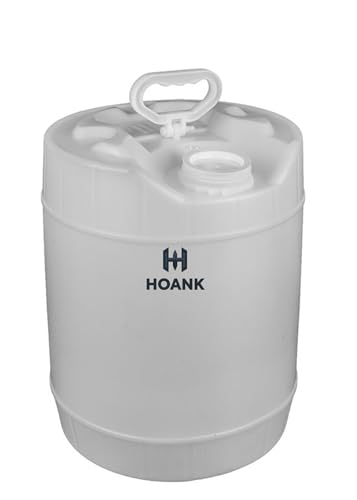
HOANK Oil Storage Container Automotive – Translucent Recycle Oil Jug – 5.5 Gallon Oil Container Automotive – ext. dia. 11.5" x 14.75" H. (Lid Included)
CAPACITY: 5-gallon translucent container perfect for storing and recycling used automotive oil with clear visibility of fluid levels
As an affiliate, we earn on qualifying purchases.
As an affiliate, we earn on qualifying purchases.
Troubleshooting Oil Leaks After a Quick Change

If you notice oil leaks after a quick change, start by inspecting the drain plug seal to guarantee it’s tight and not damaged. Next, check the oil filter fit to confirm it’s properly installed and secure. Addressing these points can often resolve leaks quickly and prevent further issues. Additionally, verifying the contrast ratio can help ensure the visual quality of your home cinema setup, as a higher contrast ratio yields deeper blacks and brighter whites that enhance your viewing experience.
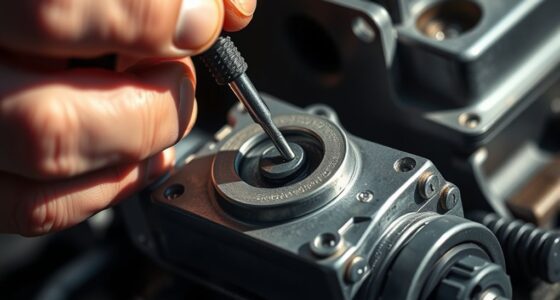
Inspect Drain Plug Seal
Have you noticed oil leaking from beneath your vehicle after a quick oil change? The first step is to inspect the drain plug seal. Check for signs of damage or wear, such as cracks or flattening, which can compromise the seal’s effectiveness. Proper drain plug maintenance is essential to prevent leaks, so if the seal appears damaged, you’ll need to follow the seal replacement procedures carefully. Remove the drain plug and replace the old seal with a new one, ensuring it fits snugly without overtightening. Tighten the drain plug to the manufacturer’s specifications to avoid stripping the threads or causing a leak. Regular inspection and timely seal replacement help keep your oil system sealed and your engine running smoothly. Additionally, understanding environmental considerations can help you adopt practices that reduce impact and promote sustainability during your maintenance routine.
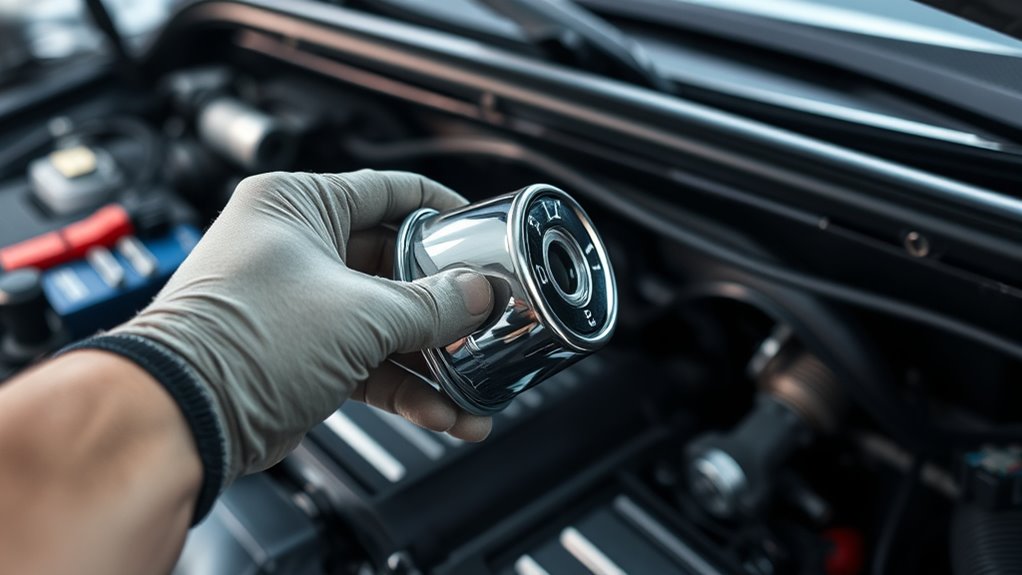
Check Oil Filter Fit
A loose or improperly fitted oil filter is a common cause of leaks after a quick oil change. To prevent this, verify you’re using the correct oil filter compatibility for your vehicle. Check your owner’s manual or consult with a parts specialist to find the right fit. When installing the filter, follow proper filter installation tips: apply a light coating of oil to the rubber gasket, screw it on by hand until snug, then tighten it an additional quarter to half turn. Avoid over-tightening, which can damage the gasket or cause leaks. After installation, inspect the filter to confirm it’s seated properly. Taking these steps helps prevent oil leaks caused by a loose or incompatible filter, ensuring a secure seal and a clean, leak-free oil change. Additionally, ensuring your Kia Tuning modifications do not interfere with the filter installation can help maintain optimal engine performance and prevent leaks.
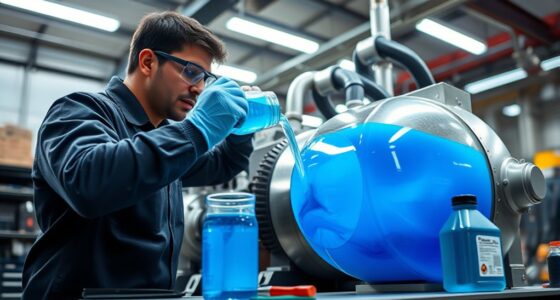
The Importance of Using the Correct Oil and Filter
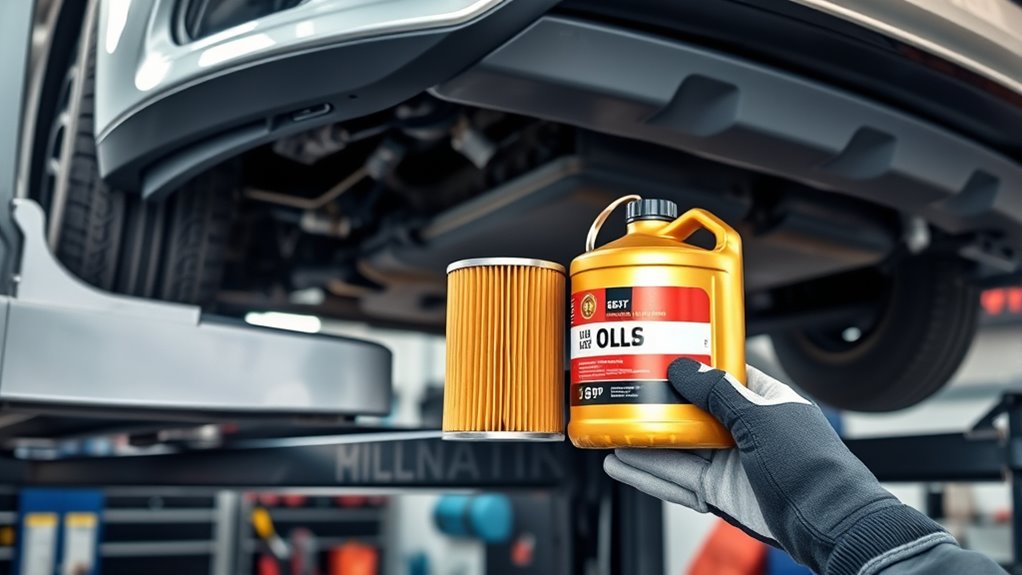
Using the correct oil and filter is essential to guarantee your engine runs smoothly and stays protected. The right oil type — whether synthetic vs conventional — ensures ideal lubrication and engine longevity. Choosing the wrong filter can lead to poor filtration, risking engine damage. Using high-quality filters helps trap debris and prevents contaminants from circulating. Remember to contemplate oil recycling; using eco-friendly options reduces environmental impact. Synthetic oils tend to last longer and perform better at extreme temperatures, making them a preferred choice for many drivers. Meanwhile, conventional oil might be suitable for older engines or budget-conscious vehicle owners. By selecting the correct oil and filter, you ensure your engine stays clean, efficient, and protected for miles to come. Proper maintenance of oil and filters also supports the effectiveness of Glycolic Acid Benefits for Skin, which enhances overall vehicle and personal care routines.
Identifying Engine Noise and Performance Issues Post-Oil Change
After changing your oil, pay attention to any unusual engine sounds or a noticeable drop in power. These signs can indicate issues like improper oil levels or incorrect oil type. Recognizing these problems early helps keep your engine running smoothly. Additionally, being aware of tuning options for your specific Honda model can help identify potential modifications that may affect engine performance after an oil change.
Unusual Engine Sounds
Have you noticed strange noises coming from your engine after an oil change? These unusual sounds can signal issues that need attention. You might hear a persistent engine knocking, which often indicates oil pressure problems or insufficient lubrication. Squealing sounds could mean the drive belt is slipping or the pulley is misaligned. To visualize, imagine:
- A sharp, metallic knocking that echoes during acceleration
- High-pitched squeals when you start the engine or accelerate
- A rhythmic tapping that worsens with engine temperature
If these noises occur, stop driving and check your oil level and quality. Unusual engine sounds are your engine’s way of telling you something’s off, and addressing them early prevents further damage and costly repairs.
Decreased Vehicle Power
Unusual engine noises after an oil change can also lead to decreased vehicle power. If your engine sounds louder or rougher, you might notice a drop in acceleration and overall performance. This can be caused by improper oil levels or quality, which affect fuel efficiency and emission control. When oil isn’t circulating properly, the engine works harder, reducing power and increasing fuel consumption. Poor oil filtration can also cause deposits that hinder engine components. To troubleshoot, check your oil level and ensure the correct type was used. If the problem persists, it may indicate a deeper issue, such as a faulty oil filter or incorrect installation. Addressing these issues promptly helps restore ideal engine performance and maintains fuel efficiency and emission standards. Additionally, understanding the importance of proper oil filtration and selecting quality products can prevent future issues.
When and How to Revisit Your Oil Change Routine
Knowing when to revisit your oil change routine is essential to keeping your vehicle running smoothly. You should check your oil change scheduling regularly, especially if you notice signs like unusual engine noise or decreased fuel efficiency. Revisit your vehicle maintenance checklist at least every 3,000 to 5,000 miles, or as recommended by your manufacturer. Keep an eye on:
- Oil color and consistency, which can tell you if it needs changing sooner
- Mileage markers to stay on track
- Any warning lights or dashboard alerts related to oil
- Using a high-quality airless paint sprayer can make touch-up jobs easier and more efficient, helping maintain your vehicle’s appearance if you perform frequent repairs or repainting around it.
Adjust your routine if you experience extreme driving conditions, such as frequent short trips or heavy loads. Regularly revisiting your oil change routine ensures your engine stays healthy and prevents costly repairs.
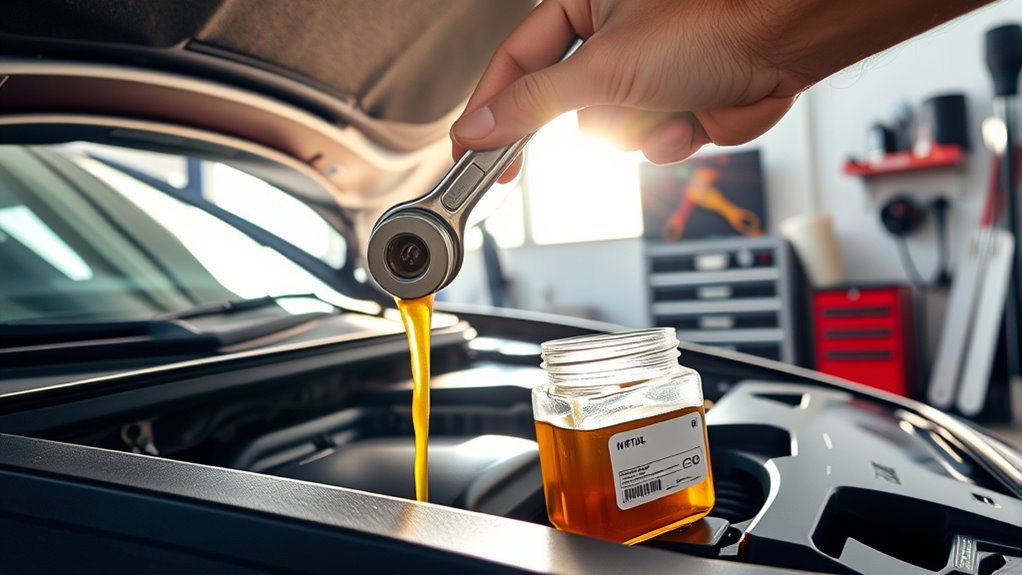
Tools and Techniques for a Safe and Effective Oil Change

Using the right tools and techniques makes oil changes safer and more efficient. Start with a quality wrench and a drain pan to catch old oil safely. Use gloves and safety goggles to protect yourself from spills and splashes. Proper oil disposal is essential—never pour used oil down drains; instead, take it to a recycling center. Keep tools in good condition with regular tool maintenance to ensure they work effectively and last longer. When loosening the drain plug, do so slowly to avoid spills, then tighten it securely afterward. Always double-check that you’ve replaced the oil filter properly. These techniques help prevent accidents and environmental harm, making your oil change straightforward and safe. Mastering the right tools and techniques is key to a successful DIY oil change.
Preventative Tips to Avoid Future Oil Change Troubles

To prevent future oil change troubles, regular vehicle maintenance is essential. Proper oil disposal guarantees harmful contaminants don’t build up and cause engine damage. Scheduling periodic engine flushing can help remove sludge and debris that block oil flow, extending your engine’s lifespan. Additionally, check your oil level regularly and top it off as needed to avoid running low.
Regular maintenance and proper oil disposal help prevent engine damage and extend your vehicle’s lifespan.
- Keep an eye on oil color and viscosity to catch issues early
- Use quality oil filters and change them during oil changes
- Follow manufacturer recommendations for oil type and change intervals
Frequently Asked Questions
Can Using the Wrong Oil Type Cause Engine Damage?
Using the wrong oil type can definitely cause engine damage. If you choose oil with incorrect viscosity, your engine might not lubricate properly, leading to increased wear. Synthetic oils often perform better at extreme temperatures, while conventional oils are suitable for regular use. Picking the wrong oil type or viscosity can result in poor engine efficiency, overheating, or premature wear, so always follow your vehicle manufacturer’s recommendations.
How Often Should I Change My Oil Filter During Quick Oil Changes?
You should change your oil filter every time you do a quick oil change—think of it as giving your engine a fresh breath of life! Skipping oil filter maintenance is like ignoring a vital piece of the puzzle; it can cause engine wear and reduce performance. Follow these quick oil change tips: replace the filter, use the right oil, and make sure everything’s sealed tight. Your engine will thank you with smooth, reliable runs!
What Are Common Signs of an Overfilled Oil Reservoir?
If your oil level is overfilled, you might notice warning lights on your dashboard, signaling a potential problem. You could also experience oil foaming or increased engine noise, which indicates excess oil. Check your oil level with the dipstick regularly; if it’s above the recommended mark, drain some oil to prevent engine damage. Addressing overfilling promptly helps keep your engine running smoothly and avoids costly repairs.
Is It Safe to Top off Oil Between Scheduled Changes?
Topping off your oil between scheduled changes is generally safe, but only if you check the oil level carefully. You want to maintain the proper oil level, prevent overfilling, and guarantee your engine runs smoothly. Always add small amounts of oil, check the level with the dipstick, and avoid overfilling. Remember, topping off helps maintain ideal oil levels, but neglecting proper checks can lead to engine trouble.
How Do Temperature Changes Affect Oil Performance and Change Intervals?
Temperature changes can considerably impact oil performance by causing viscosity fluctuations and thermal expansion. As temperatures rise, oil thins, reducing its ability to protect engine parts, so you might need more frequent changes. Conversely, colder temperatures increase viscosity, making oil thicker and potentially hampering flow. To maintain ideal protection, consider adjusting your oil change intervals based on seasonal temperature shifts, ensuring your engine stays well-lubricated regardless of weather conditions.
Conclusion
Skipping proper oil change procedures can lead to engine damage and costly repairs. Did you know that neglecting regular oil changes can decrease engine lifespan by up to 50%? By recognizing signs of poor oil quality, using the right products, and following safe techniques, you can keep your engine running smoothly. Stay proactive with routine checks and maintenance—your engine will thank you for it, and you’ll save money in the long run.