TL;DR
Moving your rig away from your workspace is the most effective noise reduction. Proper placement and treatment in small spaces like closets can turn them into surprisingly good audio zones, but ventilation and sealing are key. The right setup saves money, reduces noise, and boosts sound quality.
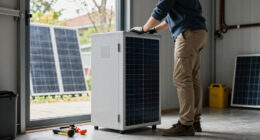
Ever wonder why some creators swear by their closet setups? It turns out, small spaces like closets can be gold mines for sound. They naturally cut down echo and control reflections—if you treat them right. But, there’s a catch: heat. If you seal it up tight without airflow, your high-power rig could cook itself. This guide digs into how to dampen, place, and ventilate your closet rig for killer results without risking overheating.
Whether you’re podcasting, streaming, or running a remote inference setup, knowing where to put your gear and how to treat that space makes all the difference. Get these strategies right, and your closet becomes more than just a storage spot. It’s a mini studio with pro-level sound and zero noise complaints.
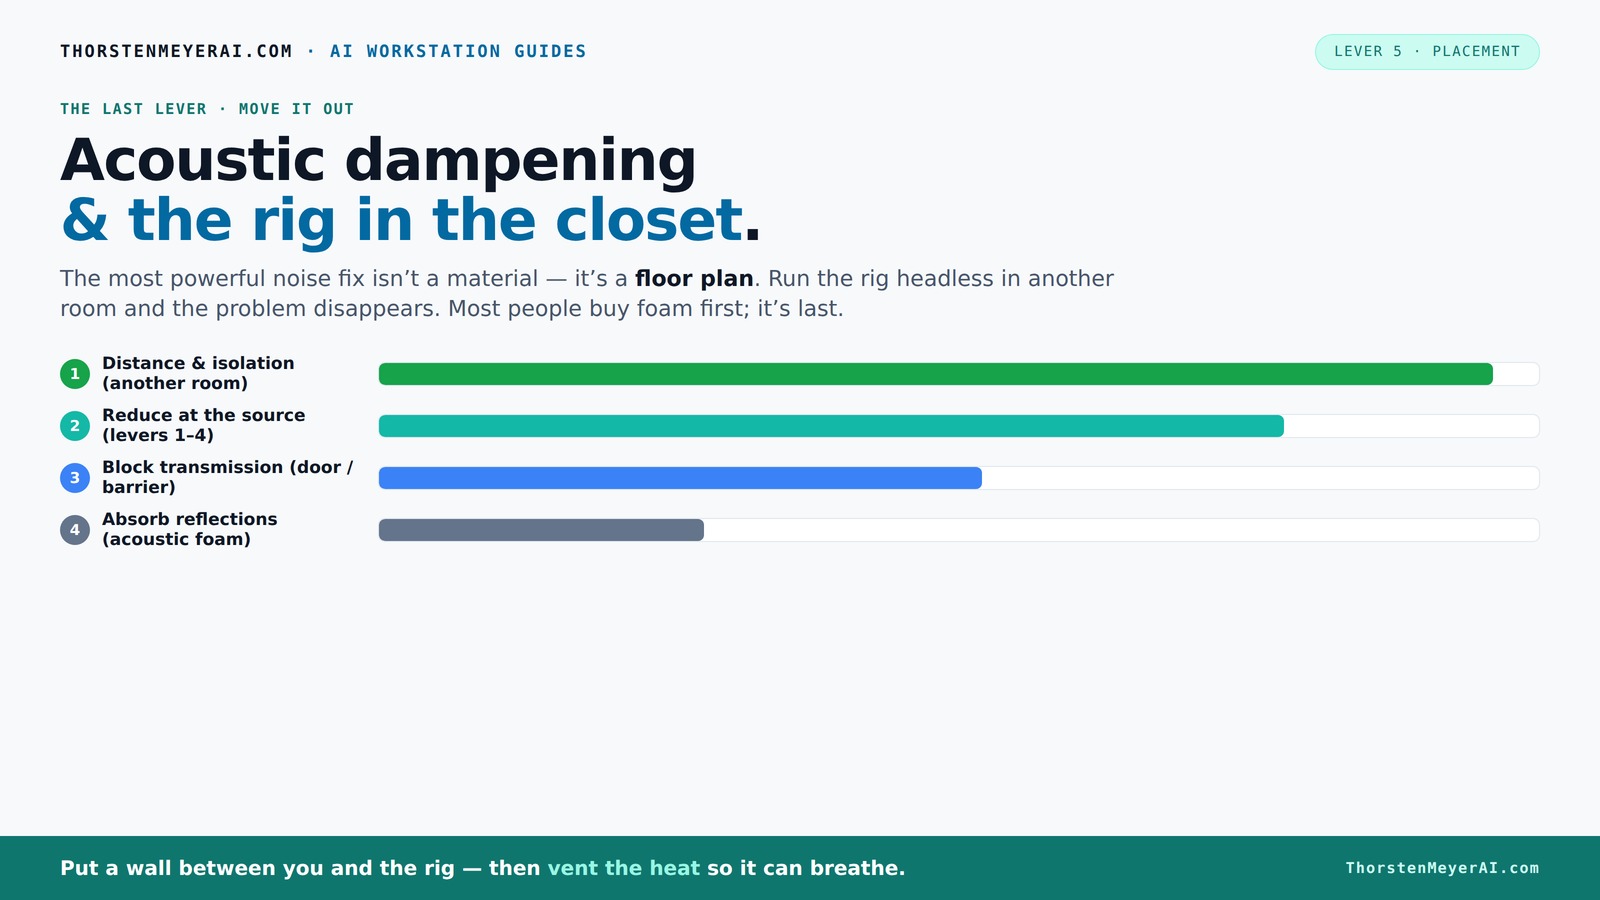
Acoustic dampening
& the rig in the closet.
The most powerful noise fix isn’t a material — it’s a floor plan. A rig you can’t hear because it’s in another room beats any amount of foam. Tap the approaches in Part 1 to see what actually works.
(another room)
(levers 1–4)
(door / barrier)
(acoustic foam)
Contain the noise, not the heat
Key Takeaways
- Moving your rig into another room or closet is the most effective way to cut noise and heat issues.
- Placement of the microphone and gear—away from reflective surfaces and with proper airflow—is crucial.
- Layered treatment — blankets, foam, rugs — provides the best reflection control in small spaces.
- Ventilation isn't optional; heat buildup from sealed closets can damage equipment and cause noise issues.
- Sealing gaps around doors and cracks greatly reduces sound leakage, making even DIY closet setups sound professional.

24 Pack Black 12 x 12 x 2 Inches Pyramid Designed Acoustic Foam Panels, Sound Proof Foam Panels for Walls, High Density and Flame-Retardant Acoustic Panels, Sound Panels for Recording and Home Studio
Exceptional Sound Absorption:These pyramid acoustic panels are engineered to effectively absorb sound waves, reducing echo and reverberation. With...
As an affiliate, we earn on qualifying purchases.
As an affiliate, we earn on qualifying purchases.
Why Small Spaces Like Closets Are Great for Sound Control (And What to Watch Out For)
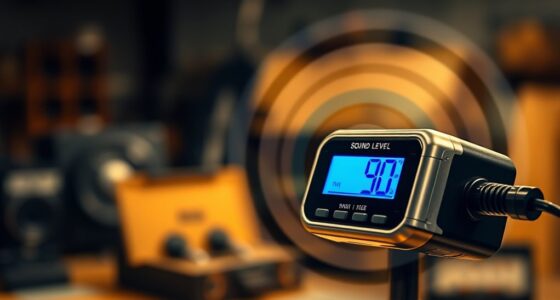
Closets work because they’re small, enclosed, and usually lined with materials that absorb reflections. Think of it as a natural echo chamber—good for focusing vocals or voice-overs. But they can also trap low frequencies, causing bass buildup and standing waves—bad for clarity.
For example, a streamer in a tiny closet might get clearer vocal recordings, but if they don’t treat corners or add bass traps, the low end can sound muddy. The trick is to use absorption on walls, ceiling, and corners, and keep the space ventilated to prevent heat buildup.
According to recent trends, DIY closet booths are more popular than ever because they’re inexpensive, flexible, and easy to adapt for voice-over, streaming, and even AI inference rigs.

50 Pack Sound Proof Foam Panels for Walls, 2 X 12 X 12 Inches Acoustic Foam Panels, High Density Acoustic Panels Sound Absorbing, Noise Cancelling Studio Wedges, Black (NOT INCLUDE ADHESIVE)
PROFESSIONAL SOUND ABSORBING PROPERTIES – Our acoustic foam panels are expertly designed to reduce noise pollution by absorbing...
As an affiliate, we earn on qualifying purchases.
As an affiliate, we earn on qualifying purchases.
How to Place Your Gear for Perfect Sound and Cooler Operation
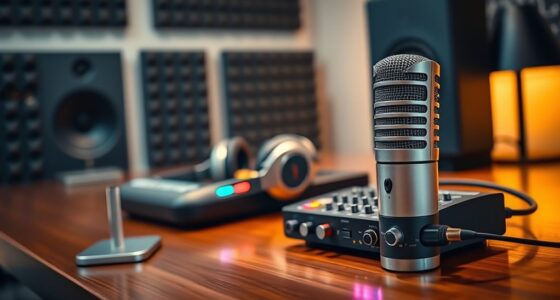
Placement is king when it comes to sound quality. Your microphone should be positioned to minimize reflections—ideally, away from the closet door and near the center of the room’s reflection points. Use the 'main reflection point' rule: sit so the mic faces away from reflective surfaces.
For example, a voice-over artist might place their mic 6 inches from a foam panel on the wall behind, with a rug or foam on the desk to break reflections. Meanwhile, your rig’s GPU and CPU should sit on rubber feet, away from walls, to prevent structure-borne noise from vibrating through the space.
Remember, the goal is to reduce direct sound reaching your mic and to stop heat from accumulating. Proper airflow helps keep your gear cool while preventing noise caused by overheating fans. You can learn more about air circulation and acoustic treatment in small spaces.
ventilated closet soundproof enclosure
As an affiliate, we earn on qualifying purchases.
As an affiliate, we earn on qualifying purchases.
The Best Acoustic Treatment Strategy for a Closet: Cover More, Say Less
Coverage beats a single fancy panel. Aim to treat the main reflection points—behind the mic, ceiling, and side walls—first. Then, add bass traps in the corners if you notice low-end issues.
For example, hanging moving blankets with air gaps behind them can cut reflections and keep costs down. Use 2-inch foam panels if your space is small, or 4-inch panels for better low-frequency absorption in larger closets.
In practice, many creators layer blankets, foam, and rugs—covering as much wall and ceiling space as possible. This layered approach reduces echoes and leakage, turning a cramped closet into a surprisingly good makeshift studio.

Professional Microphone Isolation Shield with Pop Filter,Reflection Filter for Recording Studios, Sound-absorbing Foam for Noise and Reflection Reduction for Recording,Singing,Podcasts,live stream
Acoustic treatment: The microphone isolation shield allows you to reduce audio wave bounce and interference when recording. It...
As an affiliate, we earn on qualifying purchases.
As an affiliate, we earn on qualifying purchases.
Ventilation and Heat Management: Keep It Cool and Quiet
Putting your rig in a closet works because it isolates sound, but heat is the enemy. A sealed space traps heat, which can cause thermal throttling and damage. The key is to provide airflow—think passive vents or quiet exhaust fans.
For example, installing a small, quiet duct fan that pulls hot air out and draws in cooler air from outside keeps temperatures in check. Purpose-built soundproof cabinets often include temperature-controlled vents to balance soundproofing and cooling.
Without proper ventilation, the heat will build up quickly—especially with high-power GPUs running 24/7—so plan for airflow before sealing the space tight.
Check out this guide for more on cooling strategies.
Comparison Table: Noise Reduction Strategies — What's Most Effective?
| Method | Effectiveness | Cost | Best For |
|---|---|---|---|
| Distance & Isolation | Highest | Low (if you already have another room) | Complete noise elimination, heat management |
| Source Reduction (fans, undervolting) | High | Medium | Quiet rigs, minimal treatment needed |
| Barrier (doors, panels) | Moderate to High | Varies | Leakage control, partial soundproofing |
| Absorption (foam, blankets) | Low to Moderate | Low | Reflection control, room tone |
Common Mistakes That Kill Sound Quality in a Closet Setup
- Not sealing the door gaps—sound leaks out and noise escapes.
- Over-relying on foam alone—low frequencies still bounce around.
- Ignoring ventilation—overheating reduces performance and damages gear.
- Failing to treat reflection points—causes echo and muddiness.
- Using thin materials in large coverage areas—less effective at absorbing low end.
For example, many DIYers forget to seal gaps around the door, letting sound escape. Or they place foam only in the corners, missing the main reflection points. These small oversights can ruin what could otherwise be a solid setup.
Can a Closet Really Be Good Enough for Pro-Level Voice Work?
Yes, with proper treatment and setup, a closet can rival small studio rooms. The secret is targeting reflection points, sealing gaps, and managing heat. Many creators record vocals, podcasts, and streams in closet booths that sound crisp and clear.
For example, a voice actor in a tiny closet installed thick blankets, mounted foam panels behind the mic, and sealed the door with weatherstripping. The result? Clean, focused recordings with minimal leakage or echo.
Of course, it’s not perfect. Larger, purpose-built booths still outperform tiny closets, but for most creators, a well-treated closet hits the sweet spot between practicality and quality.
Frequently Asked Questions
Can I really soundproof a closet without building a dedicated studio?
You can significantly reduce reflections and leakage with strategic treatment and sealing, making a closet suitable for voice work. Complete soundproofing requires more extensive construction, but for everyday use, a well-treated closet works surprisingly well.Where should I put acoustic panels in my closet booth?
Start with the main reflection points: behind the mic, the ceiling directly above it, and side walls near your voice. Add bass traps in corners if needed, and seal gaps around the door for best results.How much coverage do I need for a good closet setup?
Aim for comprehensive coverage—covering at least 70-80% of the walls and ceiling with absorption materials. Focus first on reflection points, then layer in blankets or panels in other areas for best sound quality.Is it okay to use blankets instead of foam panels?
Yes, blankets are a low-cost, effective option for reducing reflections, especially when hung with air gaps behind them. For broader frequency absorption, combining blankets with foam or panels yields better results.How do I prevent my gear from overheating in a sealed closet?
Use passive vents or small exhaust fans to allow airflow. Purpose-built soundproof cabinets often include temperature-controlled vents. Regularly monitor the temperature to prevent overheating and thermal throttling.Conclusion
Transforming your closet into a quiet, controlled workspace isn’t magic—it's about smart placement, layered treatment, and ventilation. When you think of your rig, think of it as a heat-generating, sound-emitting beast that needs containment and airflow. Master those elements, and your closet becomes a surprisingly capable studio that saves money and space.
So next time you consider noise, remember: distance, treatment, and ventilation are your best friends. Treat them well, and your workspace will sound clear, stay cool, and keep noise where it belongs—in the closet, not in your ears.