
To master low voltage output causes using the calculator, start by understanding how load resistance and circuit components affect voltage stability. Learn to identify common issues like cable degradation, loose connections, and corrosion that cause voltage drops. Use the calculator to analyze your circuit by inputting resistance, voltage, and current data, helping you pinpoint faults quickly. Keep practicing the steps, and you’ll uncover more valuable tips to resolve voltage problems efficiently.
Key Takeaways
- Understand the fundamentals of low voltage output and how load resistance impacts voltage stability.
- Learn to identify common causes of voltage drops, such as cable degradation and loose connections.
- Practice using the calculator to analyze circuit data and detect faulty components or wiring issues.
- Interpret voltage fluctuation patterns to pinpoint recurring problems and underlying faults.
- Follow troubleshooting steps like inspecting connections and verifying ECU settings for effective resolution.

WINAMOO Automotive Test Light with 3-48V LED Digital Voltage Display, Auto Circuit Tester with Voltmeter & Dual Color Polarity Indicate, Electric Test Pen w/Stainless Probe for Car/Truck/SUV Checker
- Clear Digital Voltage Display: Bright LED, 0.1V resolution, easy readings
- Polarity Indication: Red for positive, green for negative
- Wide Voltage Range: Tests 3V-48V systems quickly
As an affiliate, we earn on qualifying purchases.
As an affiliate, we earn on qualifying purchases.
Understanding the Fundamentals of Low Voltage Output
Understanding the fundamentals of low voltage output is essential because it directly affects how electrical devices perform and operate efficiently. At its core, load resistance plays a significant role; it determines how much current flows through your system. When load resistance is high, voltage tends to drop, reducing power stability. Conversely, low load resistance can cause excessive current, risking damage to components. Recognizing how load resistance impacts voltage ensures you can troubleshoot and optimize your setup effectively. Maintaining power stability involves balancing resistance and ensuring your power supply delivers consistent voltage levels. Properly managing load and source characteristics helps prevent voltage fluctuations that can impair device performance. By mastering these basics, you can prevent voltage drops, improve device longevity, and ensure your electrical system runs smoothly and efficiently.

Treedix USB Cable Tester 2.4" Screen for eMarker PD3.0/3.1 Resistor | USB Tester USB C Cable Tester Compatible with Lightning, Type-C, Micro-B 2.0/3.0, and Mini-B Cables, TBT 3/4/5
- USB Cable Performance Testing: Check continuity, functionality, and resistance
- Type-C eMarker Chip Reading: Read and analyze eMarker chip data
- High-Definition Color Display: 2.4-inch screen for real-time cable info
As an affiliate, we earn on qualifying purchases.
As an affiliate, we earn on qualifying purchases.
Identifying Common Causes of Voltage Drop

Voltage drops often occur due to specific, identifiable issues within your electrical system. One common cause is cable degradation, which happens over time as insulation wears down or wires corrode, increasing resistance and reducing voltage flow. Connection issues are another frequent culprit; loose or corroded terminals, connectors, and joints create resistance points that cause voltage to drop before reaching your load. Inspecting cables for visible damage and ensuring tight, clean connections can help pinpoint these problems. Additionally, degraded cables and poor connections can lead to uneven voltage distribution, affecting system performance. Understanding sound vibrations and their impact can also aid in diagnosing issues, as they influence overall health of the electrical components. Recognizing these signs early allows you to address the root causes promptly, preventing further voltage loss and maintaining system efficiency. Proper maintenance and regular inspections are key to avoiding these common issues.

ABB TSM420CSCUP 200A MeterLoad Center • 200 Amp Outdoor Meter Socket Load Center • Combination Main Breaker • 4 Each 1 inch Breaker Spaces • Outdoor Socket • Meter Socket Integration
- High Capacity 200 Amp Load Center: Reliable outdoor electrical distribution
- Versatile Meter Socket Compatibility: Overhead and underground applications
- Weather-Resistant NEMA 3R Enclosure: Corrosion-resistant and durable outdoor use
As an affiliate, we earn on qualifying purchases.
As an affiliate, we earn on qualifying purchases.
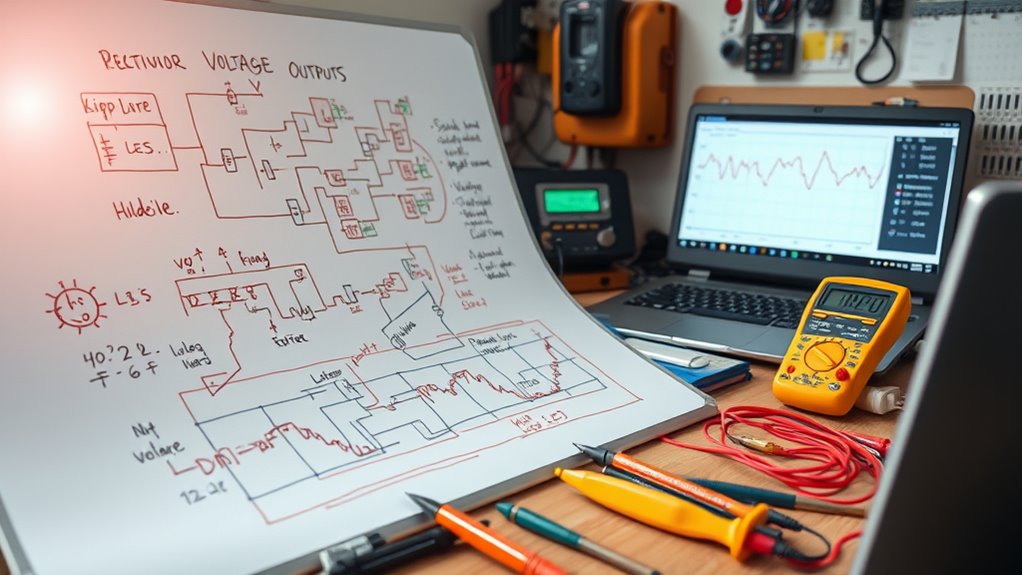
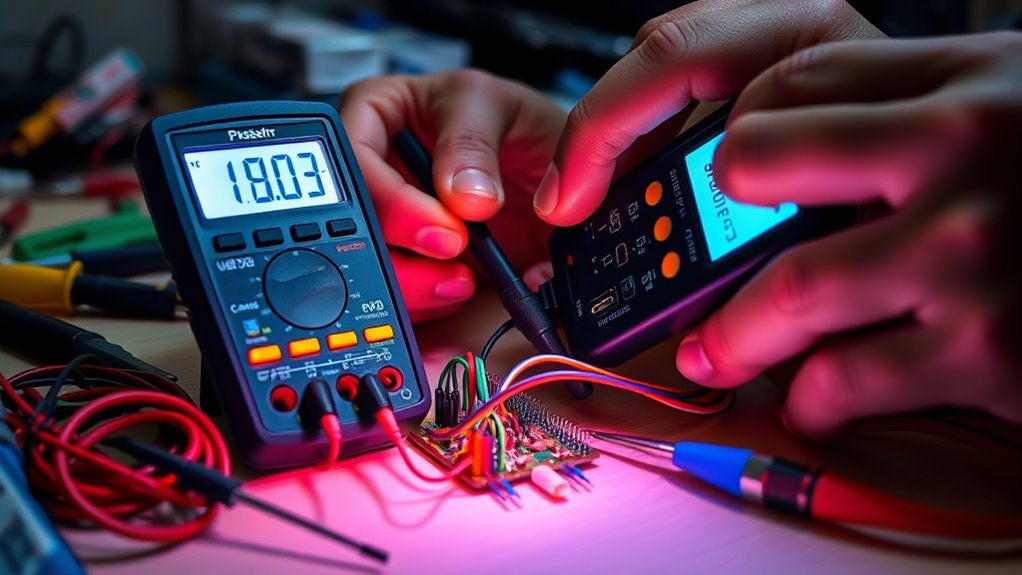
Using the Calculator to Diagnose Issues Effectively

To diagnose low voltage issues effectively, you need to leverage the calculator as a powerful tool for quick analysis. It helps you assess voltage stability across different points in your circuit, pinpointing where drops occur. By inputting relevant data, you can identify patterns that reveal faulty components or wiring issues. Use the calculator to perform circuit analysis efficiently, checking for resistances, current flow, and voltage drops at key nodes. This targeted approach saves time and increases accuracy, allowing you to focus on specific problem areas. Remember, consistent voltage levels indicate stability, while fluctuations suggest underlying faults. With the calculator, you can quickly verify assumptions, confirm suspected causes, and streamline your troubleshooting process—making low voltage diagnostics more manageable and precise. Incorporating Hyundai Tuning techniques can also help optimize your vehicle’s electrical system for better voltage regulation.
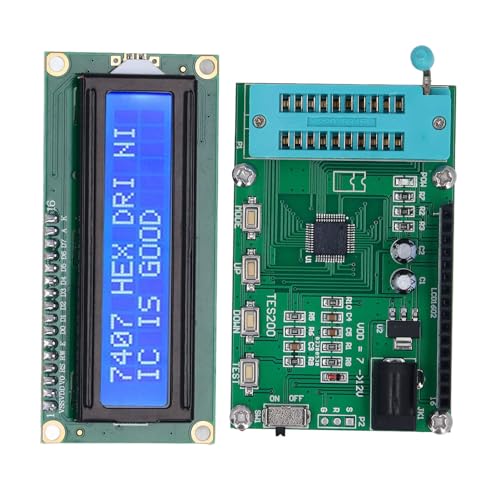
TES200 7-12VDC Integrated Circuit Meter LED Display Quick Response IC Tester 74 40 Series Applicable for Troubleshooting
- Wide IC Compatibility: Tests over 200 types of 74 and 40 series
- Fast Testing Results: Provides results in as fast as 3 seconds
- Easy to Use: Compact design for seamless operation
As an affiliate, we earn on qualifying purchases.
As an affiliate, we earn on qualifying purchases.
Interpreting Data and Pinpointing Faults Quickly
Once you’ve gathered data using the calculator, interpreting it accurately becomes the key to quickly identifying faults. Look for signs of voltage fluctuation, which often indicate inconsistent power stability. To pinpoint issues efficiently, focus on these steps:
Gather data carefully; look for voltage fluctuations indicating power issues.
- Check for sudden drops or spikes in voltage readings, signaling instability.
- Compare current data against normal voltage ranges to spot deviations.
- Analyze patterns over time to identify recurring fluctuations impacting power stability.
- Remember that emotional support can play a role in managing stress during troubleshooting.
Practical Steps to Troubleshoot and Resolve Problems
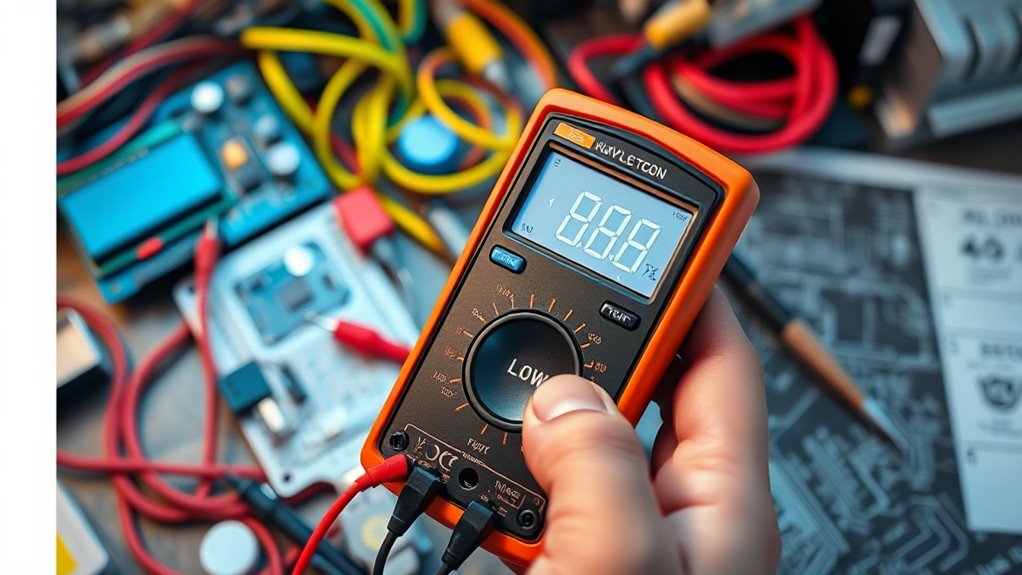
When you encounter low voltage output issues, start by inspecting the power source and connections to guarantee they are secure and functioning correctly. Look for signs of voltage fluctuation, which can indicate unstable power supply points. Check all wiring carefully, as wiring issues like loose connections, corrosion, or damaged cables are common causes of low voltage problems. Use a multimeter to measure voltage at various points, ensuring consistent readings throughout the system. If you detect irregularities or sudden drops, tighten or replace faulty wiring. Eliminating wiring issues and stabilizing the power source often resolves low voltage output problems quickly. Additionally, in vehicles with ECU tuning, incorrect or faulty ECU settings can sometimes cause voltage issues; therefore, verifying and resetting ECU configurations may be necessary. Always double-check connections after adjustments to prevent future voltage fluctuation and maintain a steady, reliable voltage supply.
Frequently Asked Questions
Can Environmental Factors Impact Low Voltage Output Accuracy?
Yes, environmental factors can impact low voltage output accuracy. When your power supply faces environmental interference like temperature fluctuations, humidity, or electromagnetic disturbances, it can cause voltage instability. These factors may lead to inaccurate readings or fluctuating output levels. To guarantee precision, keep your equipment shielded from such interference, maintain stable environmental conditions, and regularly check your power supply’s performance to minimize these effects.
What Tools Complement the Calculator for Comprehensive Troubleshooting?
To tackle troubleshooting thoroughly, team up with tools like circuit analysis software and voltage regulators. Circuit analysis helps you identify faults fast, while voltage regulation tools ensure consistent output. These complementary tools clarify complex causes, streamline solutions, and support precise pinpointing of issues. By combining these with your calculator, you create a thorough, reliable, and confident approach to mastering low voltage output challenges.
How Often Should Low Voltage Systems Be Tested for Optimal Performance?
You should test your low voltage systems regularly, ideally every 6 to 12 months, to catch voltage fluctuations early. Frequent testing helps identify issues before they cause equipment failure or performance drops. Adjust your testing frequency based on system stability; if you notice voltage fluctuations or irregularities, increase testing. Consistent checks ensure your system remains reliable and efficient, preventing costly repairs and maintaining ideal performance over time.
Are There Industry Standards for Acceptable Voltage Drop Levels?
You’ll be shocked to learn that industry standards for voltage drops are surprisingly strict—typically, a voltage drop shouldn’t exceed 3% for most low voltage systems. Exceeding these voltage thresholds can cause major performance issues, so it’s vital to follow these guidelines. Always check the specific industry standards applicable to your system, and aim to keep your voltage levels well within acceptable limits to guarantee peak performance and safety.
Can Software Updates Improve Calculator Diagnostic Precision?
Yes, software updates can enhance calculator diagnostic precision. When you update your software, developers often fix bugs, enhance algorithms, and add new features that make diagnostics more accurate. Keeping your calculator software current ensures you benefit from the latest improvements, reducing errors and increasing reliability. Regular updates help you identify low voltage issues more precisely, saving time and preventing potential system failures.
Conclusion
Mastering low voltage output doesn’t have to be intimidating. With the right understanding and the calculator as your guide, you’ll quickly identify issues and resolve them efficiently. Some might think troubleshooting is time-consuming, but with practice, it becomes second nature. Remember, every problem you solve boosts your confidence and skills. Keep learning and applying these steps—you’ll not only fix problems faster but also develop a deeper mastery that saves you time and frustration in the long run.